
Video Production: Creating Engaging Visual Stories Video production has become an integral part of modern…
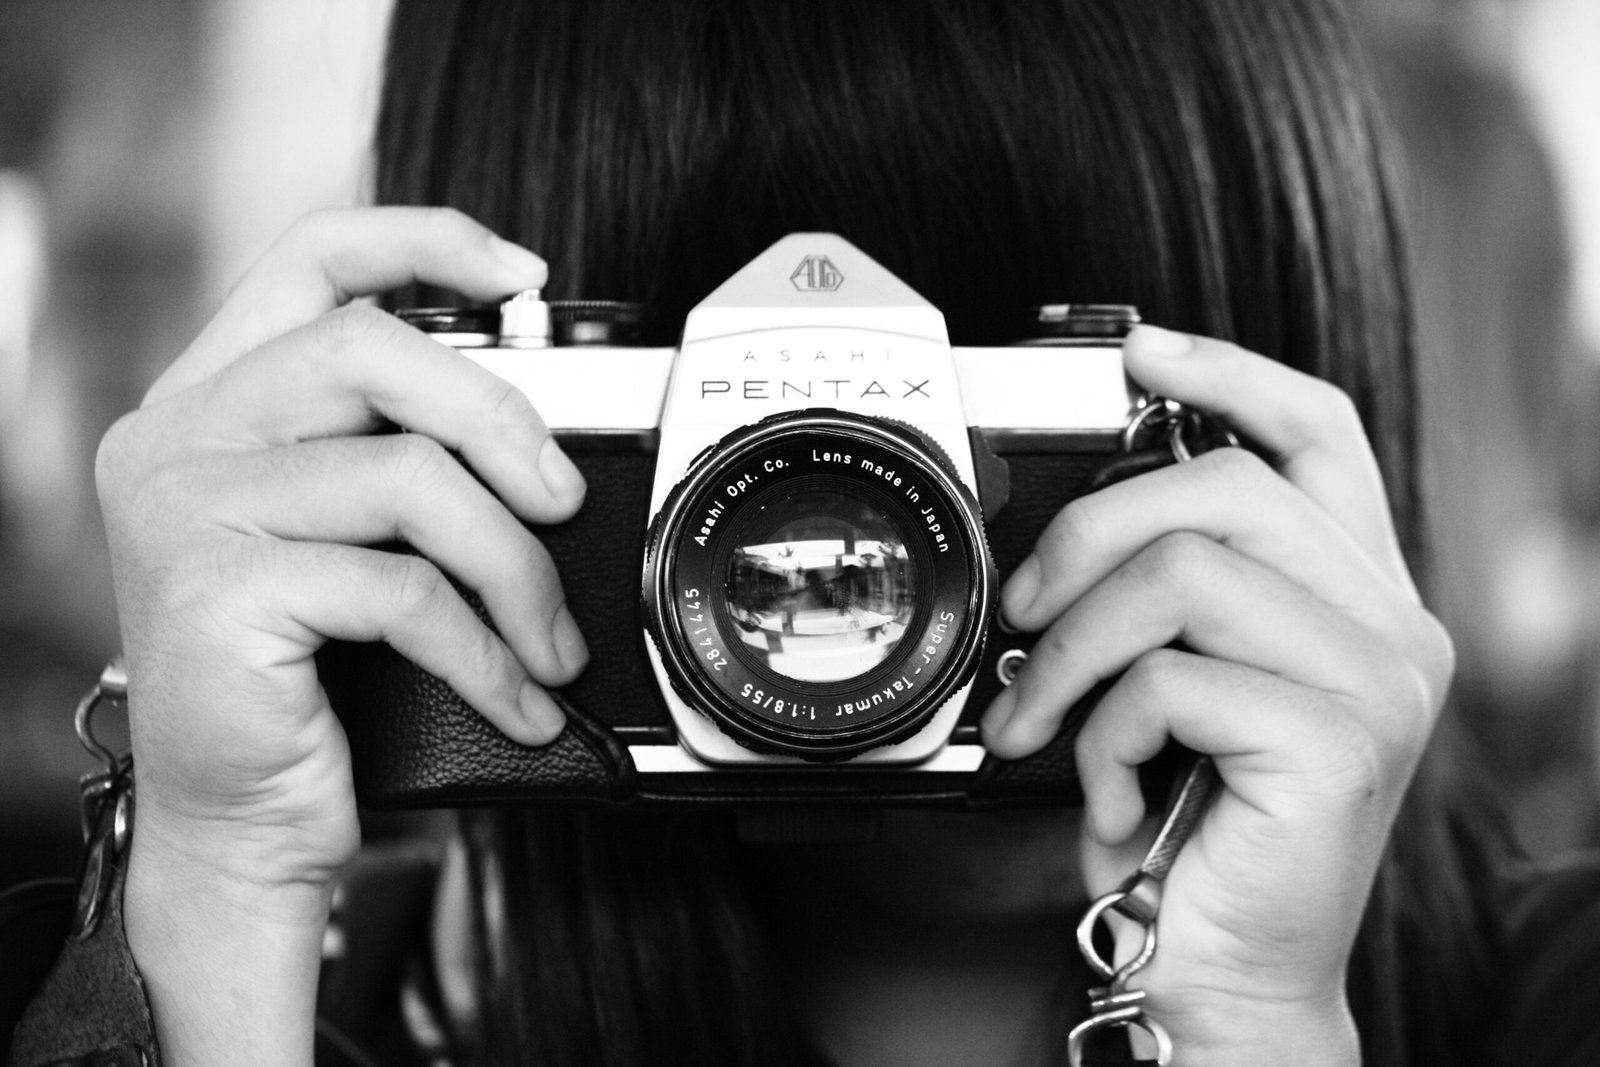
In the world of video production, mastering camera techniques is like having a secret weapon. From the way you frame a shot to the way you move the camera; these techniques can dramatically enhance your storytelling. In this comprehensive guide, we’ll explore various camera techniques that can elevate your videos to a professional level.
Understanding Camera Techniques
Camera techniques are the tools that filmmakers use to tell their stories visually. These techniques can transform a simple scene into something visually compelling and emotionally engaging. Whether you’re a beginner or a seasoned pro, understanding and mastering these techniques is crucial.
Framing and Composition
Rule of Thirds
One of the most fundamental principles of composition is the rule of thirds. By dividing your frame into nine equal parts with two horizontal and two vertical lines, you can place your subject at the intersections for a more balanced and interesting shot.
Leading Lines
Leading lines guide the viewer’s eye through the frame. These can be roads, fences, or even shadows. They help create depth and direct attention to the key elements of your shot.
Symmetry and Balance
Symmetry and balance can create harmony in your shots. Symmetrical compositions are pleasing to the eye, while asymmetrical ones can create tension and interest. Balancing elements on either side of the frame helps maintain visual stability.
Framing within Frames
Using elements within your scene to frame your subject can add depth and context. This could be anything from a doorway to a window or even natural elements like trees.

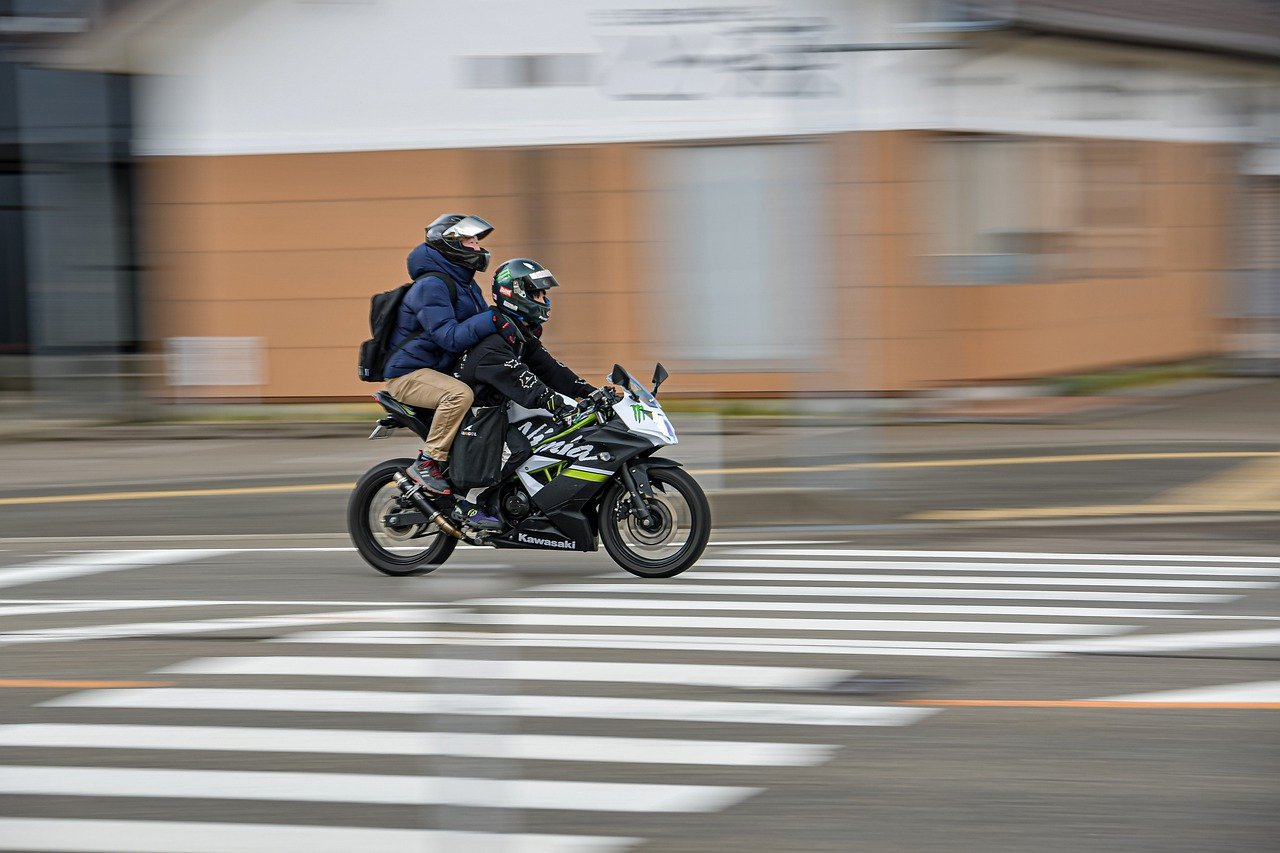
Panning and Tilting
Definition and Usage
Panning involves moving the camera horizontally from one side to another, while tilting moves it vertically. These movements are used to follow a subject or reveal a scene.
Best Practices for Smooth Panning
For smooth panning, use a tripod or a steady hand, and move the camera at a consistent speed. Start and finish the pan slowly to avoid jarring movements.
Tips for Effective Tilting
Similar to panning, tilting should be smooth and controlled. Practice tilting to ensure your movements are steady and fluid.
Zooming Techniques
Types of Zooms: Optical vs. Digital
Optical zoom uses the camera’s lens to magnify the image, maintaining quality, while digital zoom crops the image, which can reduce quality. Whenever possible, use optical zoom for clearer results.
Creative Uses of Zoom
Zoom can be used creatively to draw attention to a subject or create a sense of closeness. However, avoid overusing it, as it can become distracting.
Avoiding Common Zoom Mistakes
Avoid sudden or excessive zooming, as it can make your footage look amateurish. Smooth, gradual zooms are more professional and visually appealing.

Tracking Shots
What Are Tracking Shots?
Tracking shots follow a subject as they move through a scene, creating a dynamic and engaging perspective. This technique often involves moving the camera along a track.
When to Use Tracking Shots
Use tracking shots to follow action, reveal surroundings, or maintain continuity in a scene. They are great for keeping the viewer engaged and immersed in the story.
Equipment and Techniques
You can achieve tracking shots using dollies, sliders, or even handheld rigs. Practice is key to maintaining smooth and consistent movement.
Handheld Shooting
Pros and Cons
Handheld shooting offers flexibility and a more intimate feel but can also lead to shaky footage. It’s ideal for dynamic scenes but requires a steady hand.
Tips for Stable Handheld Shots
To keep handheld shots steady, use your body as a stabilizer. Keep your elbows close to your body and move smoothly to reduce shakiness.
Using Handheld for Dynamic Storytelling
Handheld shots can add energy and realism to a scene, making the audience feel like they’re part of the action.
Using Depth of Field
Definition and Significance
Depth of field refers to the range of distance within a shot that appears sharp. It can be shallow (only a small part of the scene is in focus) or deep (most of the scene is in focus).
How to Control Depth of Field
Control depth of field by adjusting the aperture, focal length, and distance from the subject. A wide aperture (small f-number) creates a shallow depth of field, while a narrow aperture (large f-number) gives a deep depth of field.
Creative Applications
Use shallow depth of field to isolate your subject and blur the background, drawing attention to specific elements. Deep depth of field is useful for landscape shots where you want everything in focus.
Slow Motion Techniques
Benefits of Slow Motion
Slow motion can add drama and emphasis to your footage. It’s perfect for highlighting key moments and making them stand out.
How to Shoot in Slow Motion
To shoot in slow motion, set your camera to a high frame rate, typically 60fps or higher. In post-production, reduce the playback speed to create the slow-motion effect.
Best Scenarios for Slow Motion
Use slow motion for action scenes, emotional moments, or any instance where you want to give the viewer more time to absorb the details.
Fast Motion Techniques
Benefits of Fast Motion
Fast motion can convey the passage of time or increase the energy of a scene. It’s great for montages, time-lapses, and high-energy sequences.
How to Shoot in Fast Motion
To shoot in fast motion, record at a normal frame rate and increase the playback speed in post-production. Alternatively, some cameras have a built-in fast motion feature.
Creative Applications
Fast motion can be used to show a journey, the hustle and bustle of a city, or any scenario where you want to create a sense of urgency or excitement.
Over-the-Shoulder Shots
Purpose and Usage
Over-the-shoulder shots are used in dialogue scenes to show the perspective of one character while keeping both characters in the frame. They help establish spatial relationships and enhance the viewer’s connection to the conversation.
Setting Up the Shot
Position the camera behind one character, framing them in the foreground while the other character is in the background. Adjust the focus to ensure both characters are visible.
Enhancing Dialogue Scenes
These shots can make dialogue scenes more dynamic and engaging, allowing the viewer to feel like they’re part of the conversation.

POV (Point of View) Shots
Definition and Impact
POV shots show the scene from a character’s perspective, making the viewer feel like they are seeing through the character’s eyes. This technique can create a strong emotional connection.
When to Use POV Shots
Use POV shots to immerse the viewer in a character’s experience, whether it’s a moment of action, discovery, or emotion.
Techniques for Immersive POV Shots
Keep the camera at the character’s eye level and move it as they would move their head. This helps maintain the illusion of being in the character’s shoes.
Close-Up Shots
Importance in Storytelling
Close-ups focus on a subject’s face or an important detail, highlighting emotions and key elements in the story.
How to Frame Close-Ups
Fill the frame with your subject, ensuring their eyes are on the top third line for a balanced composition. Pay attention to lighting and focus to enhance the shot.
Emotional Impact
Close-ups can convey subtle emotions and details that are crucial to the narrative, making them powerful tools in storytelling.

Wide Shots
Setting the Scene
Wide shots capture the environment and context, showing where the action is taking place. They’re great for establishing scenes and providing a sense of space.
Composition Tips for Wide Shots
Include interesting elements in the foreground, midground, and background to create depth. Use leading lines and framing to guide the viewer’s eye through the scene.
Using Wide Shots for Context
Wide shots help the audience understand the setting and the relationship between characters and their environment.

Dutch Angle Shots
Definition and Effects
A Dutch angle shot involves tilting the camera, so the horizon line is not level. This creates a sense of unease, tension, or disorientation.
When to Use Dutch Angles
Use Dutch angles in scenes where you want to convey instability, confusion, or heightened emotion. They’re often used in thriller or action sequences.
Creating Tension and Drama
The unnatural tilt of the Dutch angle can make the viewer feel unsettled, enhancing the emotional impact of a scene.
Rack Focus
What is Rack Focus?
Rack focus involves changing the focus from one subject to another within the same shot. This technique directs the viewer’s attention and can reveal important details.
Techniques for Executing Rack Focus
Practice smooth focus transitions and plan your shots carefully. Use manual focus for precise control.
Enhancing Visual Interest
Rack focus can add depth and complexity to your shots, making them more engaging and visually appealing.
Establishing Shots
Importance of Establishing Shots
Establishing shots set the scene and provide context for the viewer. They often show the location and surroundings before zooming in on the action.
How to Frame an Effective Establishing Shot
Include wide views of the setting and significant landmarks. Use leading lines and balanced composition to draw the viewer’s eye.
Setting the Tone and Context
These shots help the audience understand where the story is taking place and set the mood for the upcoming scenes.

Jib and Crane Shots
Definition and Applications
Jib and crane shots involve using a boom device to move the camera vertically or horizontally. These shots add a cinematic quality and can reveal or hide elements in a scene.
How to Use Jib and Crane Shots
Plan your movements carefully and practice smooth transitions. Use these shots to add grandeur and scale to your footage.
Adding Production Value
Jib and crane shots can significantly enhance the production value of your videos, making them look more professional.
360-Degree Shots
Overview of 360-Degree Shots
360-degree shots capture the entire surroundings, providing an immersive experience for the viewer. They’re great for virtual tours and interactive content.
Techniques and Equipment
Use specialized 360-degree cameras and ensure even lighting throughout the scene. Practice smooth movements to avoid jarring transitions.
Immersive Storytelling
These shots allow viewers to explore the scene from all angles, creating a fully immersive experience.

Time-lapse Techniques
Benefits of Time-lapse
Time-lapse condenses long periods into short sequences, showing changes over time. It’s perfect for capturing sunsets, city life, or natural phenomena.
How to Shoot a Time-lapse
Use a tripod and set your camera to take photos at regular intervals. Combine the images in post-production to create the time-lapse effect.
Creative Uses of Time-lapse
Time-lapse can show the passage of time, busy environments, or slow processes in a visually engaging way.
Hyperlapse Techniques
What is Hyperlapse?
Hyperlapse is similar to time-lapse but involves moving the camera between each shot, creating a dynamic, moving time-lapse.
Shooting Techniques
Plan your path and take photos at consistent intervals. Use stabilization tools in post-production to smooth out the footage.
Enhancing Motion and Dynamics
Hyperlapse adds a sense of motion and excitement to your videos, making them more dynamic and engaging.
Shooting in Low Light
Challenges of Low Light Shooting
Low light conditions can lead to grainy or blurry footage. It’s challenging to maintain quality and detail.
Tips and Tricks for Better Results
Use a wide aperture, high ISO, and slow shutter speed to capture more light. Stabilize your camera to avoid shake and use additional lighting if possible.
Equipment Recommendations
Invest in cameras with good low-light performance and lenses with wide apertures. Consider using external lights or reflectors to enhance your shots.
Conclusion
Mastering these camera techniques can transform your video production skills. By understanding and applying these methods, you’ll be able to create visually compelling and emotionally engaging content. Remember, practice makes perfect, so keep experimenting and refining your techniques.
FAQs
How do I keep my shots steady without a tripod?
Use your body as a stabilizer by keeping your elbows close to your body and moving smoothly. You can also use objects in the environment for additional support.
What’s the best way to learn new camera techniques?
Practice regularly and study the work of professional filmmakers. Online tutorials and workshops can also be valuable resources.
How can I improve my composition skills?
Experiment with different framing and composition rules, and analyze the work of photographers and filmmakers you admire. Practice is key to improving your eye for composition.
What’s the difference between a time-lapse and a hyperlapse?
Time-lapse involves taking photos at intervals from a fixed position, while hyperlapse involves moving the camera between shots, creating a dynamic, moving time-lapse.
How do I choose the right camera for low light conditions?
Look for cameras with good low-light performance, such as those with larger sensors and high ISO capabilities. Lenses with wide apertures (low f-numbers) are also beneficial for low light shooting.
Related Posts

May 30, 2025
Ways to Use Motion Graphics to Enhance Your Videos Motion graphics to enhance your videos are a game-changer in today’s competitive digital landscape. Whether...

May 29, 2025
Best Video Types for Your Brand: Powerful Formats to Boost Engagement In today’s digital landscape, video marketing has become a cornerstone of successful...

May 28, 2025
Tips for Shooting High-Quality Product Videos: A Comprehensive Guide Creating high-quality product videos is essential for businesses aiming to showcase their products effectively and...