
Photography Tips: Expert Photography Tips for Stunning Shots Photography is a beautiful blend of art…
How to Capture Stunning Landscape Photos: 10 Tips for Photographers
Capturing stunning landscape photos requires more than just pointing your camera at a beautiful view. Whether you’re a beginner or an experienced photographer, mastering the art of landscape photography involves understanding light, composition, and timing. In this guide, we’ll take you through essential tips to help you elevate your landscape photography and create images that truly stand out.
What Makes Landscape Photography Unique?
Understanding Landscape Photography
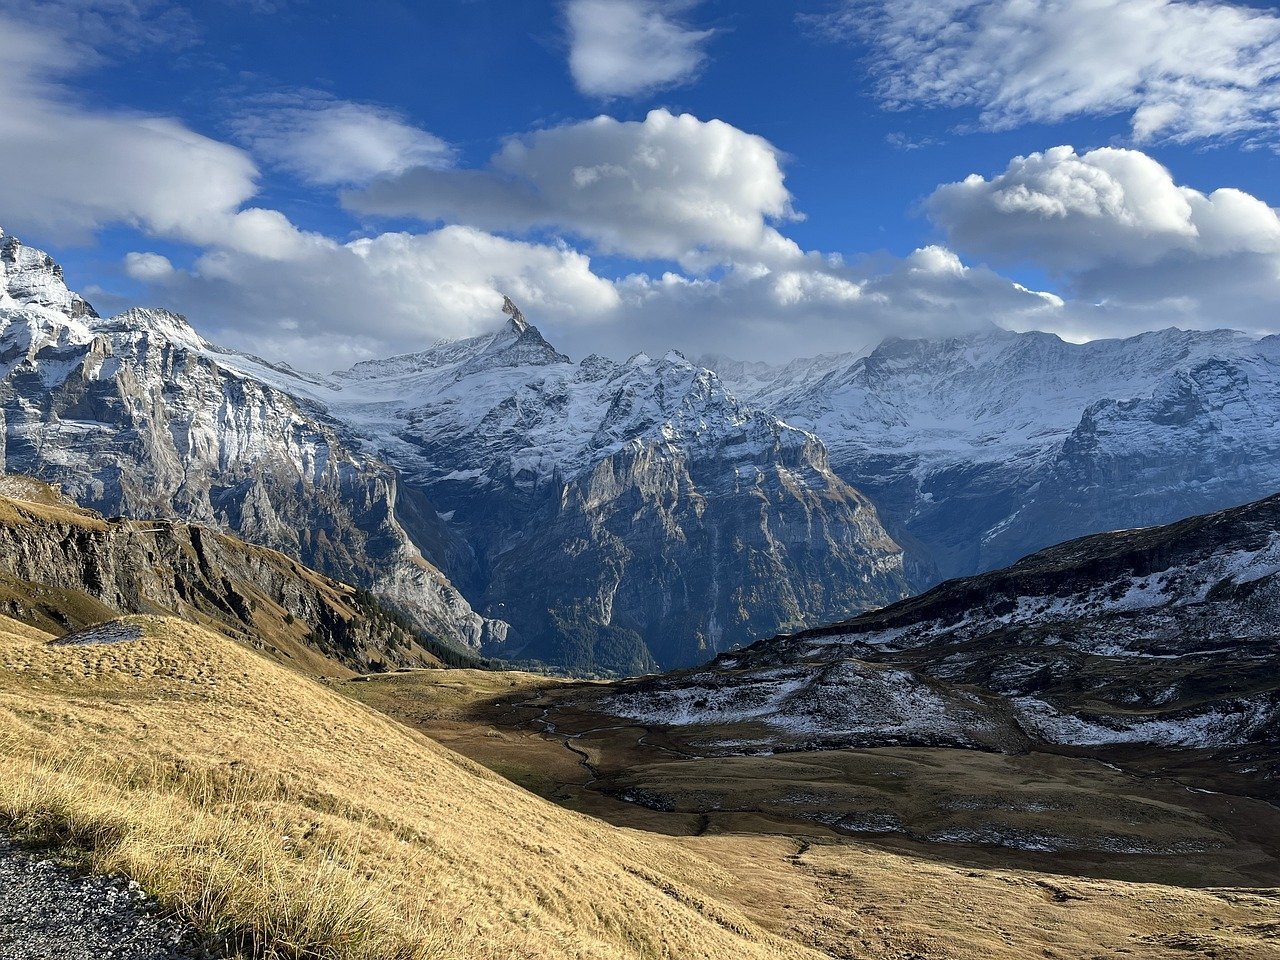
Landscape photography is all about capturing the beauty of the natural world. Unlike portrait or street photography, landscapes often include vast spaces, such as mountains, oceans, forests, or deserts. The challenge lies in bringing the grandeur of these scenes into a single frame.
Natural Elements in Focus
To truly capture the essence of a landscape, it’s important to pay attention to the natural elements in the scene. Look for unique features like rock formations, clouds, trees, or bodies of water. These elements can add depth and interest to your shot.
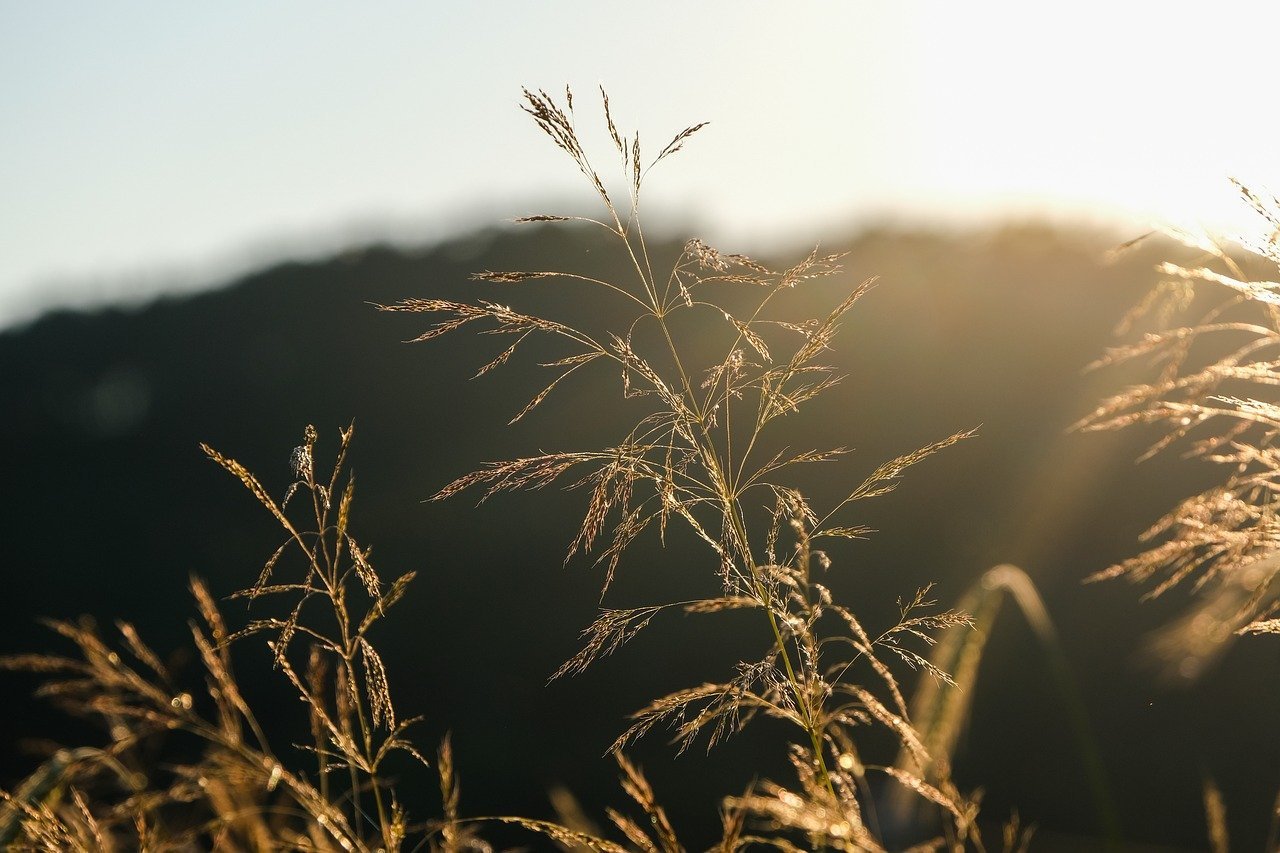
The Importance of Light
Lighting can make or break a landscape photo. Early mornings and late afternoons (known as the “golden hour”) offer soft, warm light that enhances the colors and mood of your photo. Harsh midday light can often wash out details, making it harder to capture stunning shots.
Essential Gear for Landscape Photography
Cameras: DSLRs vs. Mirrorless
When it comes to landscape photography, both DSLR and mirrorless cameras offer excellent results. DSLRs are known for their durability and long battery life, while mirrorless cameras provide a lightweight option with cutting-edge technology. Ultimately, the best camera is the one you’re most comfortable using.
Lenses: Wide-Angle and Telephoto
Wide-angle lenses are essential for capturing sweeping views of landscapes. These lenses allow you to fit more of the scene into the frame, making them ideal for photographing vast spaces. On the other hand, telephoto lenses are perfect for isolating distant elements, such as mountain peaks or wildlife.
Accessories: Tripods and Filters
A sturdy tripod is a must-have for landscape photography. It helps keep your camera steady, especially when using long exposure techniques. Additionally, filters like neutral density (ND) and polarizing filters can reduce glare, improve contrast, and balance exposure, making them invaluable tools in your kit.
Choosing the Right Time and Location
Golden Hour and Blue Hour
Timing is everything in landscape photography. The golden hour—shortly after sunrise or before sunset—offers the best natural light for capturing stunning shots. Similarly, the blue hour, which occurs just before sunrise or after sunset, provides a soft, cool light perfect for moody landscapes.
Understanding the Weather and Conditions
Weather plays a significant role in landscape photography. Overcast skies can add drama and texture to your photos, while clear skies can emphasize vivid colors. Always check the forecast before heading out to ensure the conditions align with your vision.
Scouting Locations
Before heading out for a shoot, it’s important to scout your location. Visit the area in advance to find the best vantage points, understand the terrain, and assess how the light interacts with the scene. Planning ahead will give you a better chance of capturing that perfect shot.
Framing and Composition Techniques
Rule of Thirds

The rule of thirds is a basic composition technique that helps create balanced and visually appealing photos. Imagine dividing your frame into nine equal parts with two horizontal and two vertical lines. Placing key elements along these lines or at their intersections can create a harmonious composition.
Leading Lines
Leading lines guide the viewer’s eye through the image. These can be natural features like rivers, roads, or paths that lead to a focal point. By incorporating leading lines, you create a sense of depth and draw attention to the most important parts of the scene.
Foreground Interest
Adding a strong foreground element, such as rocks, flowers, or trees, can add depth to your landscape shots. It creates layers in your image, making the viewer feel like they’re stepping into the scene.
Mastering Exposure for Landscapes
Balancing Aperture, Shutter Speed, and ISO
Achieving the right exposure in landscape photography is all about balancing your aperture, shutter speed, and ISO. A narrow aperture (f/8 to f/16) ensures that most of the scene is in sharp focus, while a slow shutter speed can help create motion blur in elements like water or clouds.
The Role of ND Filters
Neutral density filters reduce the amount of light entering the camera, allowing you to use slower shutter speeds even in bright conditions. This is especially useful when photographing waterfalls or rivers, as it helps create smooth, dreamy water effects.
Working with Natural Light
How to Use Sunlight to Your Advantage
Sunlight can dramatically alter the mood and tone of your landscape photos. Backlighting can create silhouettes, while side lighting adds texture and depth to the scene. Experiment with different angles to see how the light interacts with the landscape.
Capturing Sunrise vs. Sunset
Both sunrise and sunset offer golden light, but each has its advantages. Sunrise often comes with less atmospheric haze and fewer crowds, while sunsets tend to have richer colors due to dust particles in the air.
Capturing Motion in Landscapes
Long Exposure Photography
Long exposure is a popular technique in landscape photography, where the camera’s shutter is left open for an extended period. This technique captures the motion of elements like water, clouds, or stars, adding a sense of movement and tranquility to the image.
Waterfalls, Waves, and Clouds
To capture the flow of water in rivers or waterfalls, use a slow shutter speed (around 1/4 to 30 seconds) while keeping the rest of the scene sharp. This will blur the water, creating a soft, ethereal effect. Similarly, you can use long exposure to capture the movement of clouds across the sky.
Editing Landscape Photos
Post-Processing Techniques
Post-processing is where your raw landscape photos can truly come to life. Use editing software like Adobe Lightroom or Photoshop to adjust exposure, enhance colors, and correct any distortions in your image.
Color Grading and Contrast
Boosting the contrast and adjusting the color temperature can help make your landscapes pop. Warmer tones often enhance sunsets, while cooler tones can add moodiness to misty or cloudy scenes.
Sharpening and Noise Reduction
Lastly, apply sharpening to highlight fine details in your photo and reduce noise, especially if you’ve shot at a higher ISO.
Conclusion
Capturing stunning landscape photos is both an art and a science. By paying attention to lighting, composition, and timing, you can transform ordinary scenes into breathtaking images. Whether you’re shooting mountains, oceans, or forests, remember that the key to a great landscape photo lies in planning and patience.
Frequently Asked Questions
What camera settings are best for landscape photography?
The best settings usually involve a narrow aperture (f/8 to f/16) for greater depth of field, a low ISO to reduce noise, and a shutter speed that suits the lighting conditions.
Do I need a tripod for landscape photography?
Yes, a tripod is essential for stabilizing your camera, especially when using slow shutter speeds or long exposure techniques.
How do I improve my landscape composition?
Follow basic composition rules like the rule of thirds, and incorporate leading lines and foreground interest to add depth and guide the viewer’s eye through the image.
What editing software should I use for landscapes?
Adobe Lightroom and Photoshop are popular choices for post-processing landscape photos. They offer tools for adjusting exposure, color, contrast, and more.
Is sunrise or sunset better for landscape photography?
Both are great, but sunrise tends to have fewer people and clearer skies, while sunsets offer richer colors due to more atmospheric dust.
Related Posts

April 16, 2025
The Importance of Color Grading in Video Production In the dynamic world of visual storytelling, the importance of color grading in video production cannot...

April 15, 2025
Live Streaming for Businesses: Everything You Need to Know Live streaming for businesses is no longer just a trend—it’s a strategic must-have. Whether you’re...

April 14, 2025
Behind the Scenes: How We Create High-Quality Video If you’ve ever wondered how we create high-quality video, you’re not alone. Crafting stunning visuals that...