
Essential Camera Accessories for Every Photographer Photography is not just about having a good camera;…
Astrophotography: Capturing the Night Sky
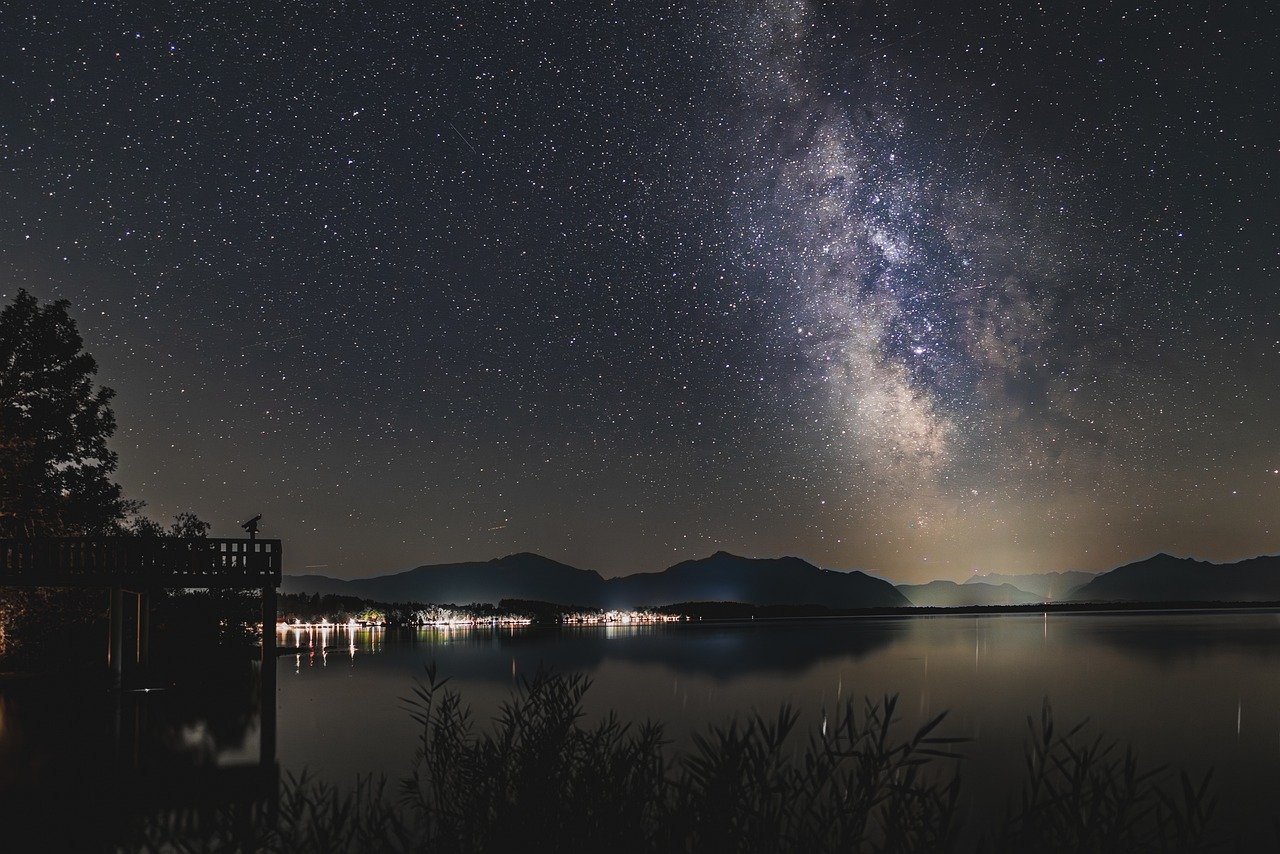
Astrophotography, the art of photographing celestial objects and the vast wonders of the night sky, has captivated photographers and stargazers alike. From capturing stunning shots of the Milky Way to zooming in on distant planets and galaxies, astrophotography allows us to explore the universe beyond what the naked eye can see. But how do you get started in this fascinating field? Let’s dive into everything you need to know to start capturing the beauty of the night sky.
Essential Equipment for Astrophotography
To successfully capture the night sky, you’ll need more than just a camera. While some astrophotographers invest in specialized gear, you can start with basic equipment and upgrade as you gain experience.
- Cameras and Lenses: A DSLR or mirrorless camera with manual settings is ideal. Look for a camera with a high ISO range and good low-light performance. Wide-angle lenses with a large aperture (f/2.8 or lower) are perfect for capturing expansive shots of the sky.
- Telescopes and Mounts: If you’re interested in deep-sky astrophotography, a telescope can help you zoom in on planets and galaxies. A sturdy mount is essential for stability, especially for long exposure shots.
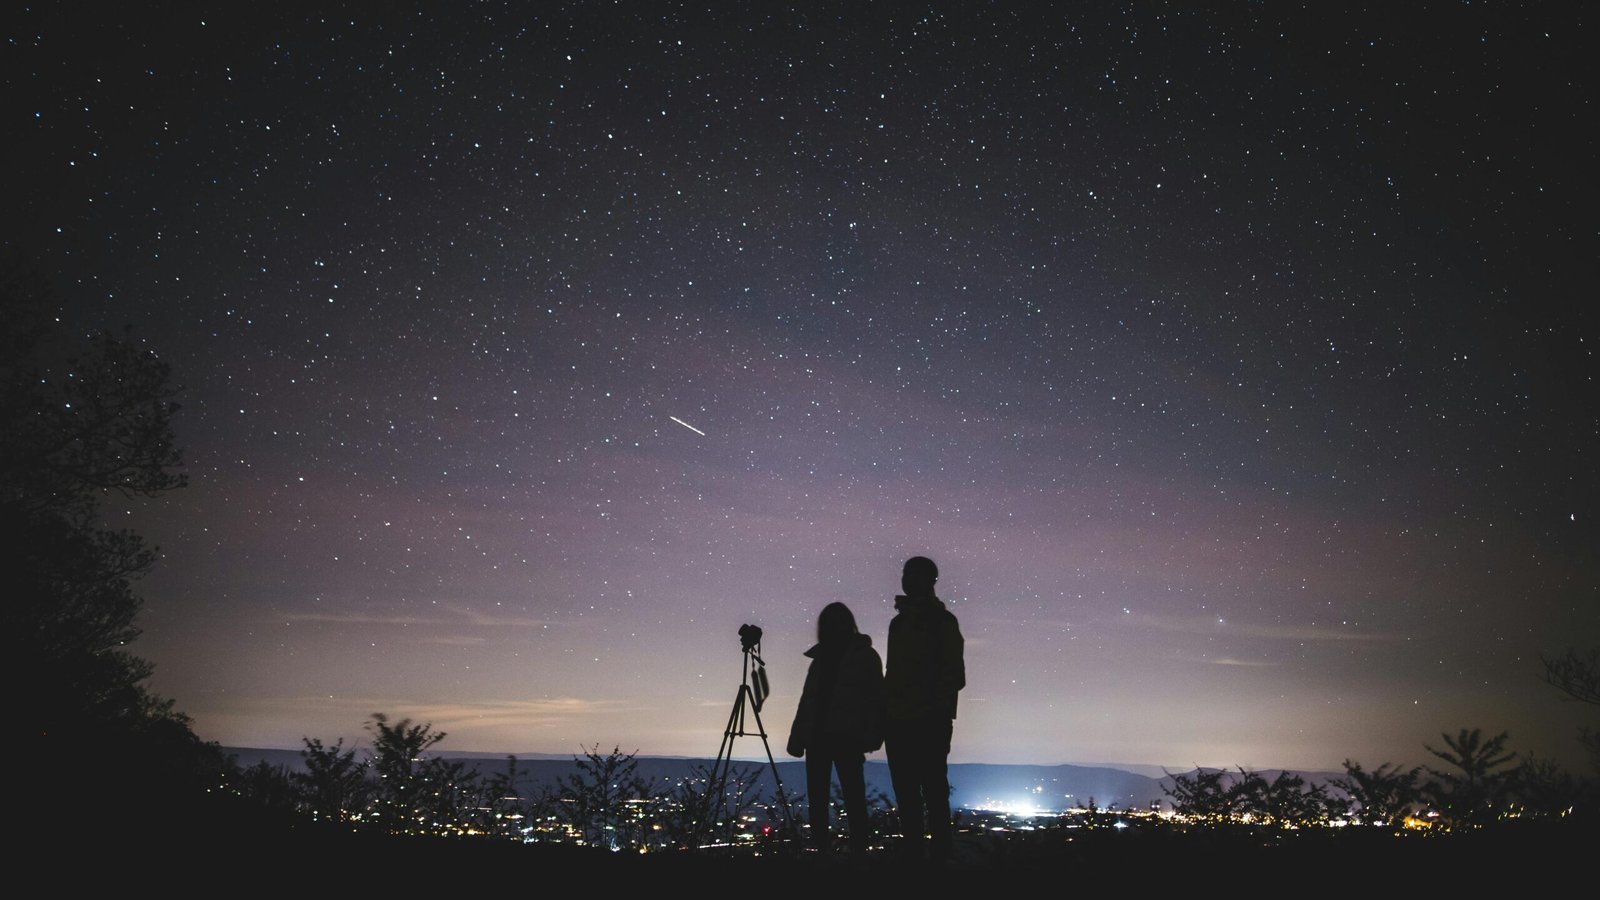
- Tripods and Remote Shutters: A stable tripod is a must to prevent camera shake during long exposures. A remote shutter or intervalometer allows you to take photos without touching the camera, reducing the risk of blurry images.
Choosing the Right Camera for Astrophotography
When selecting a camera for astrophotography, there are a few things to keep in mind:
- DSLR vs. Mirrorless Cameras: Both DSLR and mirrorless cameras are great for astrophotography. Mirrorless cameras tend to be lighter and have more advanced focusing systems, while DSLRs offer a larger range of lens options.
- Dedicated Astrophotography Cameras: These are specialized cameras designed specifically for astrophotography. They usually offer higher sensitivity to capture faint celestial objects and have cooling systems to reduce noise during long exposures.
- Key Camera Settings: Manual mode is crucial for controlling exposure. Use a high ISO (between 800-3200) to capture faint stars, and adjust your shutter speed depending on the focal length of your lens. A good starting point is the “500 rule”: divide 500 by the focal length of your lens to determine the maximum exposure time before star trails appear.
Lenses and Focal Lengths
- Wide-angle vs. Telephoto Lenses: For nightscapes that include landscapes and stars, wide-angle lenses (14-35mm) work best. For close-ups of planets or the moon, a telephoto lens with a longer focal length (200mm or more) is ideal.
- Importance of Aperture Size: A lens with a large aperture (f/2.8 or lower) lets in more light, making it easier to capture stars and other celestial objects in darker conditions.
Astrophotography Accessories
Several accessories can improve your astrophotography experience:
- Star Trackers: These motorized mounts move your camera or telescope to compensate for Earth’s rotation, allowing you to capture longer exposures without star trails.
- Light Pollution Filters: If you can’t escape to dark skies, these filters help block out artificial light from cities and towns, enhancing the contrast in your images.
- External Power Sources: Long nights of shooting can drain your camera battery, so having an external power source or extra batteries is essential.
Understanding the Night Sky
Learning to recognize celestial objects is key to successful astrophotography. The night sky is filled with wonders, but knowing where to look makes all the difference.
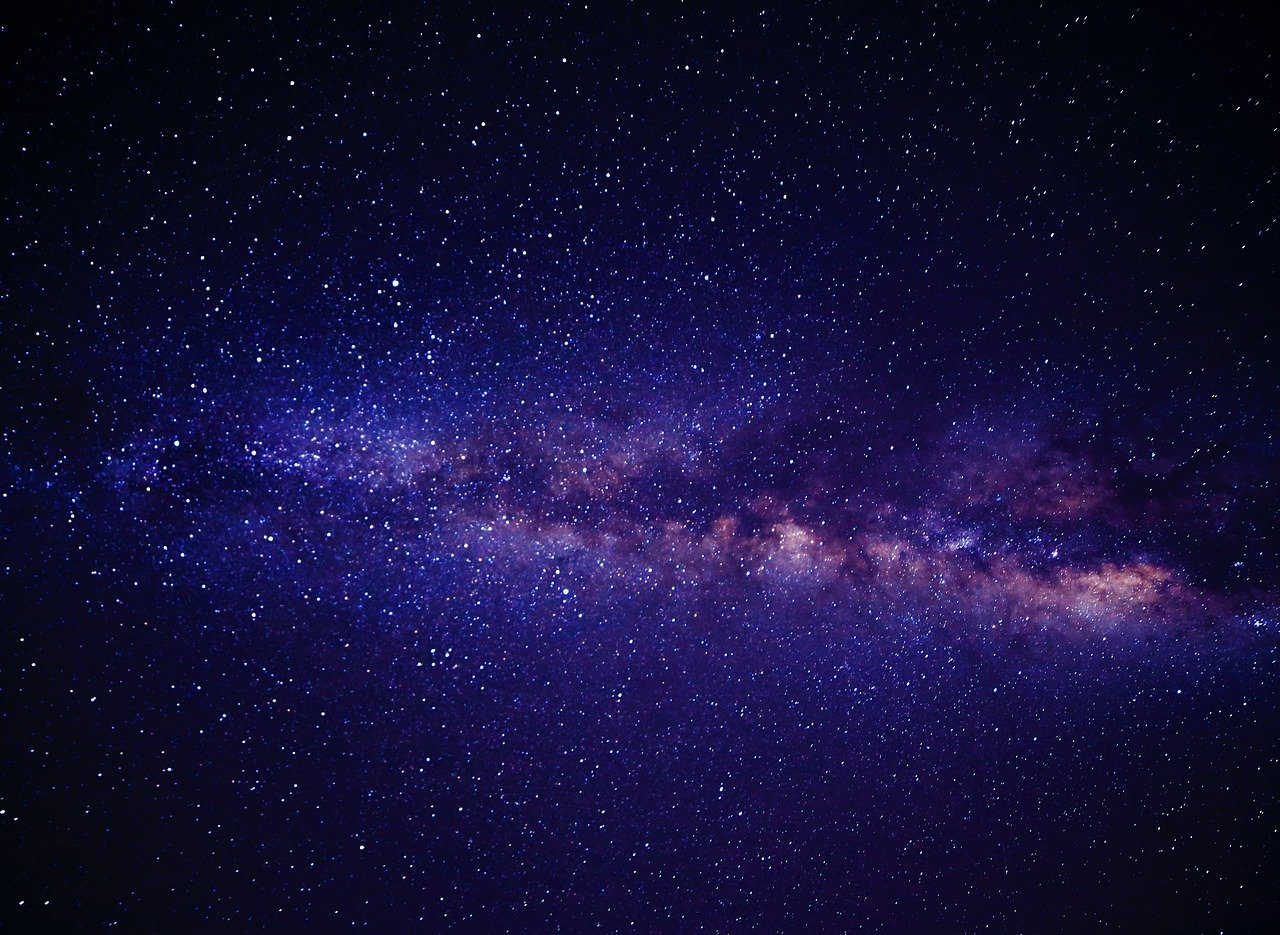
- Key Celestial Objects: Popular targets for astrophotographers include the Milky Way, planets (like Jupiter and Saturn), star clusters, nebulae, and galaxies.
- Navigating the Constellations: Apps like Stellarium or SkySafari can help you locate constellations and planets in real time, making it easier to plan your shots.
- Using Star Maps: Star maps provide a guide to the night sky, helping you find deep-sky objects that are visible based on your location and the time of year.
Optimal Conditions for Astrophotography
Finding the right conditions is crucial for capturing clear, crisp images.
- Finding Dark Skies: Light pollution from urban areas can wash out the stars, so it’s best to travel to remote locations with minimal light interference.
- Moon Phases: A new moon is the best time for astrophotography, as a full moon can overpower faint stars and galaxies.
- Weather Considerations: Clear skies are a must, but humidity and atmospheric turbulence can also affect the quality of your photos.
Basic Astrophotography Techniques
- Long Exposure Shots: Set your camera to a long exposure (10-30 seconds) to capture more light from distant stars and galaxies.
- Stacking Images: Capture multiple images of the same object and use software to “stack” them, reducing noise and enhancing details.
- Time-Lapse Photography: This technique involves taking hundreds of photos over a few hours to create a video that shows the movement of stars or the moon across the sky.
Advanced Astrophotography Methods
Once you’ve mastered the basics, try experimenting with more advanced techniques:
- Deep-Sky Imaging: Capture distant objects like nebulae and galaxies by using long exposures and star trackers.
- Tracking and Guiding Techniques: These involve using motorized mounts to follow the motion of celestial objects, allowing for ultra-long exposures without star trails.
- Panorama Stitching: Create stunning star trails by stitching multiple photos together, capturing the rotation of the Earth over several hours.
Editing Astrophotography Images
Post-processing is where your astrophotography truly comes to life:
- Post-Processing Software: Programs like Adobe Lightroom and Photoshop, or specialized astrophotography software like DeepSkyStacker, are essential for editing.
- Removing Noise: Long exposures can introduce noise, so use tools like noise reduction filters to clean up your images.
- Adjusting Contrast, Exposure, and Colors: Enhance your photos by adjusting contrast and brightness, and bring out the natural colors of the stars and galaxies.
Common Challenges in Astrophotography
- Dealing with Light Pollution: Filters and traveling to darker locations can help reduce the impact of light pollution.
- Atmospheric Conditions: Turbulence in the atmosphere can cause stars to twinkle, making them harder to capture sharply.
- Focusing in Low Light: Autofocus often fails in low light, so switch to manual focus and use the live view mode to fine-tune focus on a bright star or planet.
Astrophotography on a Budget
Starting astrophotography doesn’t have to break the bank:
- Affordable Gear: Consider entry-level DSLRs or second-hand cameras and lenses. Star trackers can be expensive, but there are budget options available.
- DIY Solutions: Build your own light pollution filters or create a DIY camera mount for star tracking.
Astrophotography Safety Tips
Staying safe while shooting at night is crucial:
- Navigating in the Dark: Bring a headlamp with a red light mode to preserve your night vision while setting up your gear.
- Protecting Your Gear: Keep your equipment safe from dew and condensation by using lens heaters or moisture absorbers.
Sharing Your Astrophotography Online
- Building a Portfolio: Create a dedicated website or use platforms like Instagram and Flickr to showcase your work.
- Social Media Tips: Use relevant hashtags and join astrophotography communities to gain exposure and followers.
- Popular Platforms: Reddit, 500px, and astrophotography-specific forums are great for sharing your work and getting feedback.
Conclusion: Embracing the Art of Astrophotography
Astrophotography is a rewarding but challenging hobby that allows you to explore the beauty of the universe. With the right equipment, patience, and techniques, anyone can capture stunning images of the night sky. So grab your camera, find a dark spot, and start shooting the stars!
FAQs
- What is the best time of year for astrophotography?
The best time for astrophotography is during the colder months, as the air tends to be clearer and less humid. - Can you do astrophotography with a smartphone?
Yes, with the right apps and attachments, smartphones can capture basic night sky images, but they won’t match the quality of a dedicated camera setup. - How long does it take to capture a good night sky image?
A single exposure can take anywhere from 10 seconds to several minutes, depending on your target and technique. - Do I need expensive equipment to get started with astrophotography?
No, you can start with a basic camera and lens. As you gain experience, you can upgrade to more specialized gear. - What are the best apps for tracking celestial objects?
Apps like Stellarium, SkySafari, and Star Walk are popular choices for tracking stars, planets, and other celestial objects.
Related Posts

February 4, 2025
The Evolution of Visual Metaphors in Video Storytelling: Unlocking Creative Power Visual metaphors have become a crucial element in the landscape of video...
February 3, 2025
Top 10 Essential Questions to Ask Before Starting Your Video Project Whether you’re working on a marketing campaign, a personal vlog, or a corporate...
January 31, 2025
The Art of Capturing Authentic Moments in Video Authenticity in video content has become a game-changer in today’s digital era. People crave real, raw,...