Photography Tips: Expert Photography Tips for Stunning Shots Photography is a beautiful blend of art…
Best Camera Settings for Low Light Photography: 9 Pro Tips for Stunning Shots
Best Camera Settings for Low Light Photography
Low light photography can be tricky, but with the right settings, you can capture stunning images even in challenging lighting conditions. Whether you’re photographing a dimly lit street or an evening event, adjusting your camera’s settings can make all the difference. Let’s break down the best camera settings for low light photography.
Why Low Light Photography Can Be Challenging
Shooting in low light often leads to underexposed images, blurry photos, or graininess. The lack of light affects how your camera’s sensor captures the scene, making it harder to achieve crisp, clear photos. This is where mastering your camera settings becomes crucial.
The Importance of Camera Settings in Low Light
In low light situations, your camera’s default settings may not perform well. By understanding and manually adjusting settings like ISO, aperture, and shutter speed, you can maximize your camera’s performance in low light and capture professional-quality images.
Camera Modes to Use in Low Light
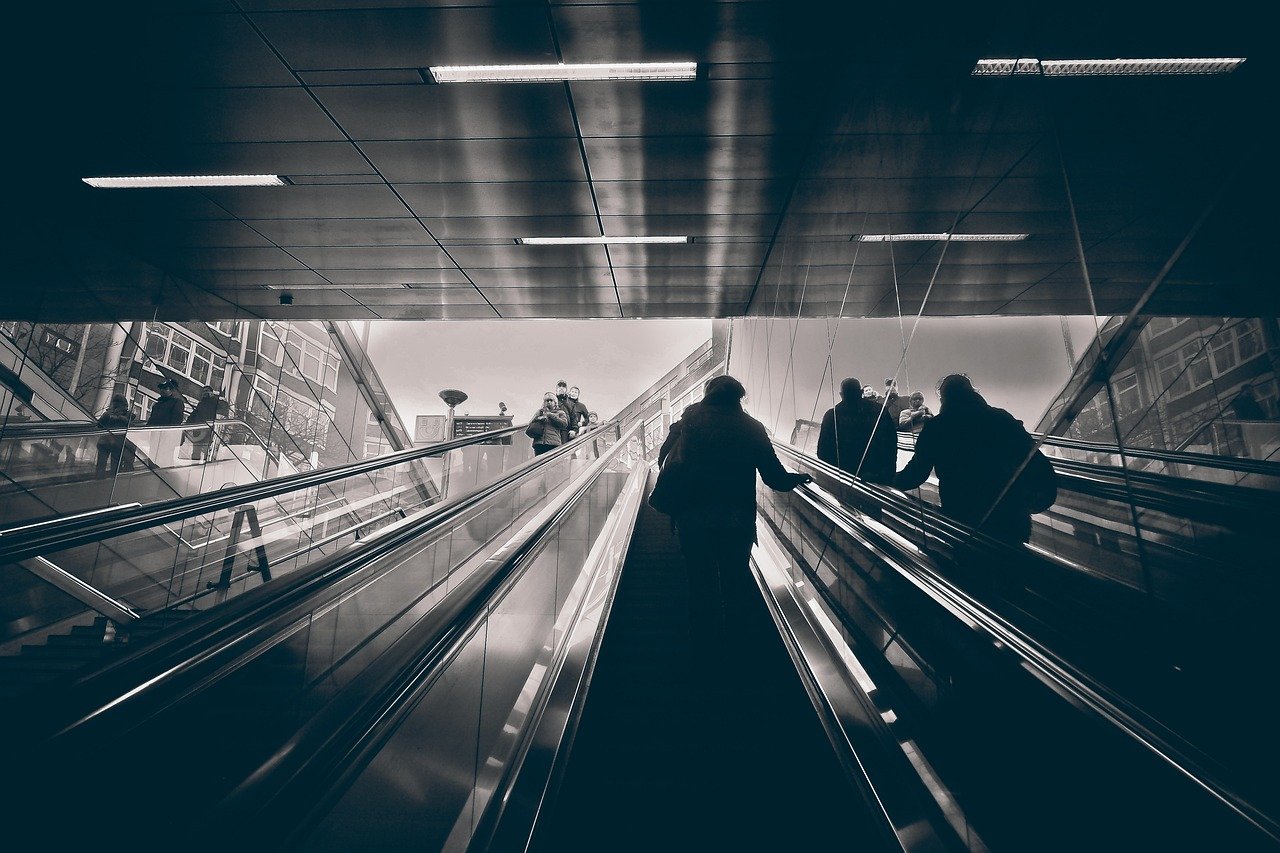
When shooting in low light, it’s essential to take control of your camera’s exposure settings. Two modes that offer this control are Manual Mode and Aperture Priority Mode.
Manual Mode
Manual mode gives you full control over your camera settings. You can adjust the ISO, aperture, and shutter speed independently, allowing you to fine-tune your exposure for low light conditions.
Aperture Priority Mode
In Aperture Priority mode, you set the aperture, and the camera automatically adjusts the shutter speed. This mode is useful for maintaining a specific depth of field while letting the camera balance the exposure.
Adjusting ISO for Low Light Photography
What is ISO?
ISO determines your camera sensor’s sensitivity to light. In low light settings, raising the ISO allows your camera to capture more light, brightening the image.
How High Should You Set Your ISO?
In low light situations, it’s common to increase the ISO. However, a high ISO can introduce noise, making your images grainy. A typical range for low light photography is between ISO 800 and 3200, though newer cameras may handle higher ISOs better.
Choosing the Right Aperture for Low Light
How Aperture Affects Light Exposure
Aperture controls how much light enters the camera. A wider aperture (represented by a lower f-number) lets in more light, which is essential for low light situations.
Best Aperture Settings for Low Light
For low light photography, use a wide aperture like f/1.8 or f/2.8. This allows more light into the lens, making it easier to capture sharp images without relying too heavily on high ISO or slow shutter speeds.
Shutter Speed in Low Light Photography
Balancing Shutter Speed and Motion
Shutter speed affects how long your camera’s sensor is exposed to light. In low light, slower shutter speeds allow more light in, but they can also result in motion blur if there’s movement in the scene.
Avoiding Blurry Photos
To avoid blurry photos, try using a shutter speed of at least 1/60th of a second. If you’re shooting handheld, a faster shutter speed may be necessary unless you’re using a tripod.
Using a Tripod to Compensate for Low Shutter Speed
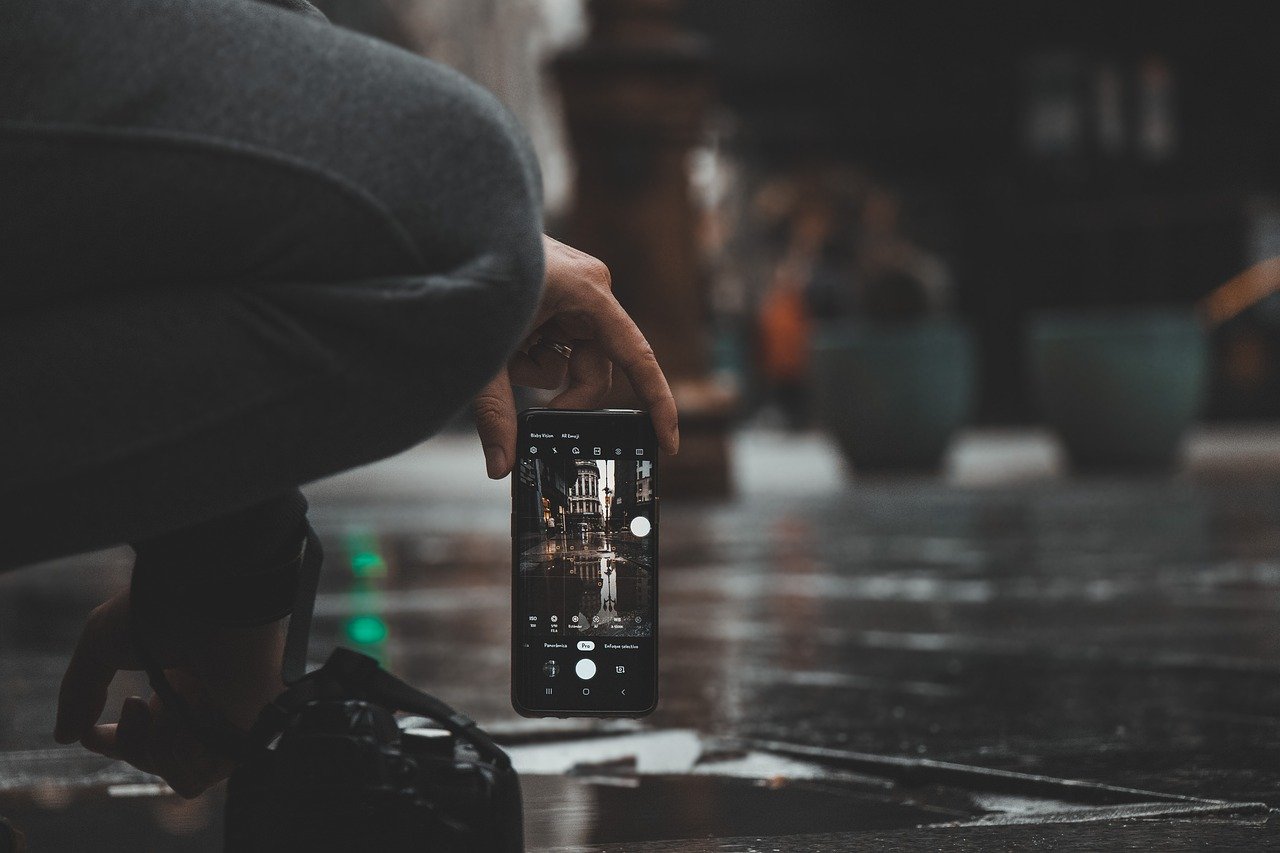
Why a Tripod is Essential
A tripod stabilizes your camera, allowing you to use slower shutter speeds without worrying about camera shake. This is especially important in low light conditions, where slow shutter speeds are often necessary.
White Balance for Low Light Photography
Adjusting White Balance Manually
In low light, artificial lighting can create unwanted color casts. Adjust your white balance manually to correct these issues and ensure your photos have natural-looking colors.
Using External Lighting in Low Light Situations
The Role of Flash and LED Lights
External lighting, like a flash or LED light, can make a significant difference in low light. Use these tools to illuminate your subject without raising the ISO too much, which can introduce noise.
Post-Processing to Enhance Low Light Photos
Using Software to Improve Exposure
Sometimes, even with the best settings, your low light photos may need a little help. Post-processing software like Lightroom or Photoshop can adjust the exposure, reduce noise, and enhance overall image quality.
Conclusion
Mastering the best camera settings for low light photography can transform your images from blurry and grainy to crisp and vibrant. Remember, the key is to balance ISO, aperture, and shutter speed to achieve the right exposure without sacrificing image quality. With these tips and a little practice, you’ll be well on your way to capturing stunning low light photos.
FAQs
What is the best ISO for low light photography?
The ideal ISO for low light photography typically ranges between ISO 800 and 3200, depending on your camera’s noise handling capabilities.
Can I use autofocus in low light?
Yes, but autofocus may struggle in low light. Using a camera with good low light autofocus capabilities or switching to manual focus can help.
Is it better to shoot in RAW or JPEG for low light photography?
RAW is preferable because it retains more image data, making it easier to adjust exposure and reduce noise in post-processing.
How can I avoid noise in my low light photos?
To reduce noise, keep your ISO as low as possible and use wider apertures or slower shutter speeds. Post-processing can also help minimize noise.
Do I need expensive gear for low light photography?
While high-end cameras with better low light performance help, you can still capture great low light photos with entry-level gear by mastering your camera settings and using techniques like stabilization and external lighting.

