
Portrait Photography Portrait photography is an art form that allows photographers to capture the essence…
Lighting Techniques for Perfect Photography
Introduction
Lighting is the heartbeat of photography. It shapes your subject, adds depth to your images, and can transform a simple shot into a masterpiece. Whether you’re shooting a portrait, a landscape, or a product, the right lighting can make all the difference. In this guide, we’ll delve into the world of lighting techniques that will elevate your photography from good to outstanding.
Understanding Natural Light
Natural light is the most accessible and often the most beautiful light source available to photographers. It’s ever-changing, which makes it both a challenge and an opportunity.
The Golden Hour
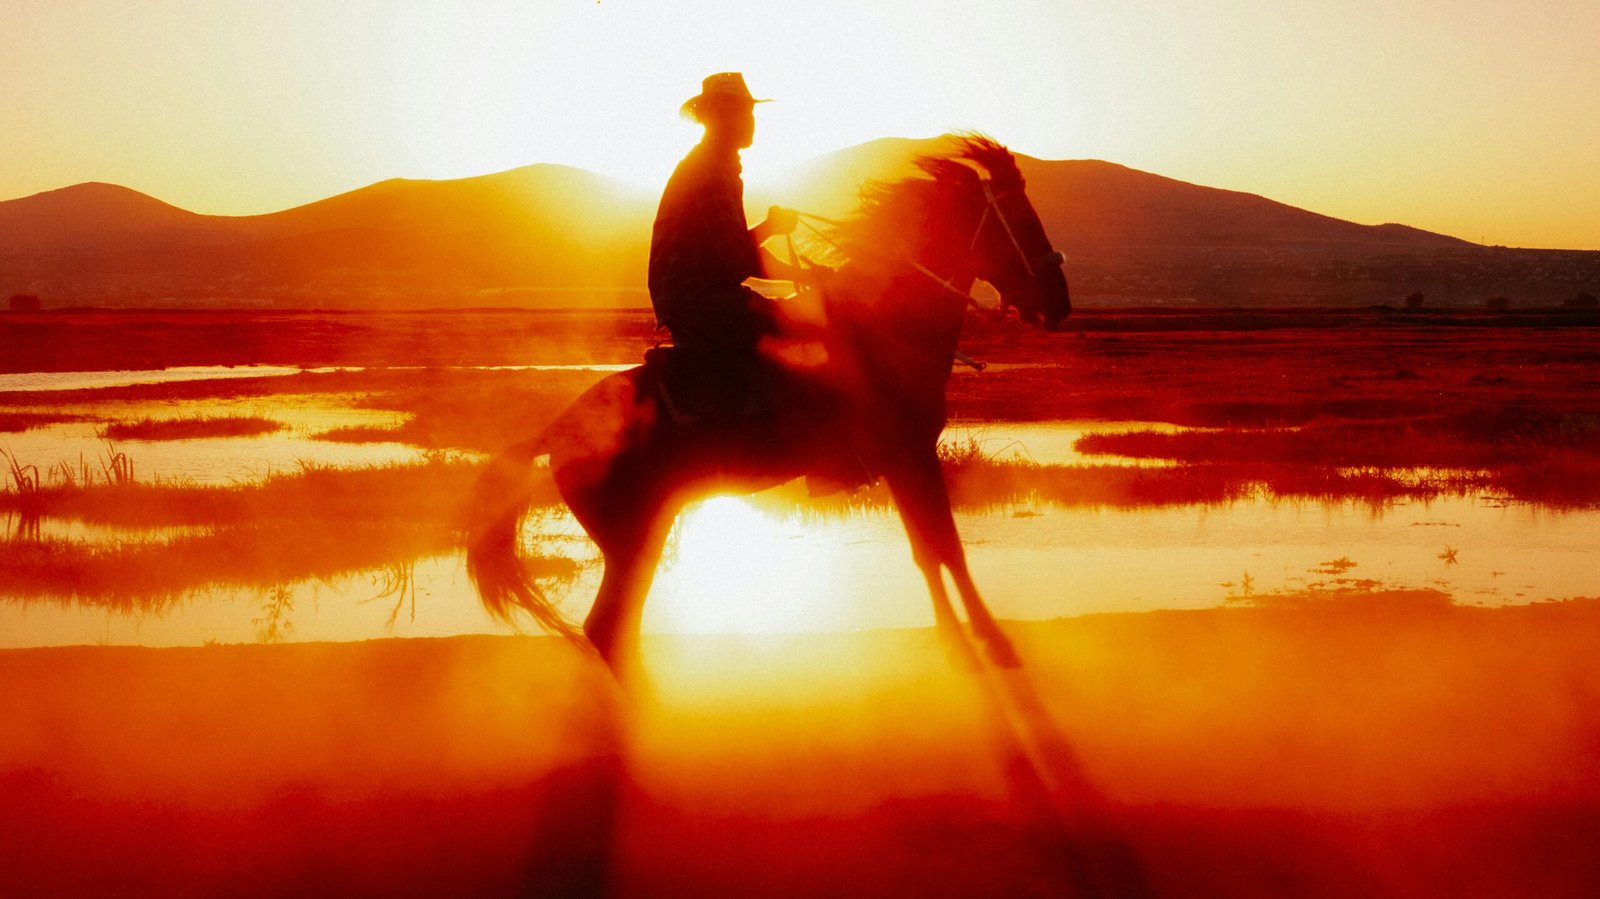
The Golden Hour is the time shortly after sunrise or before sunset when the sun is low in the sky. The light during this period is soft, warm, and diffused, creating a flattering glow that enhances the colors in your photos. This is an ideal time for outdoor photography, especially for portraits and landscapes.
Diffused Sunlight
Diffused sunlight occurs when the light from the sun is scattered, usually by clouds or other objects, resulting in a softer light that reduces harsh shadows. This type of lighting is perfect for capturing delicate details without the intensity of direct sunlight.
Backlighting
Backlighting involves placing the light source behind your subject, which can create dramatic effects, such as silhouettes or a halo around the subject. It requires careful exposure control to avoid overexposing the background while keeping details in the foreground.
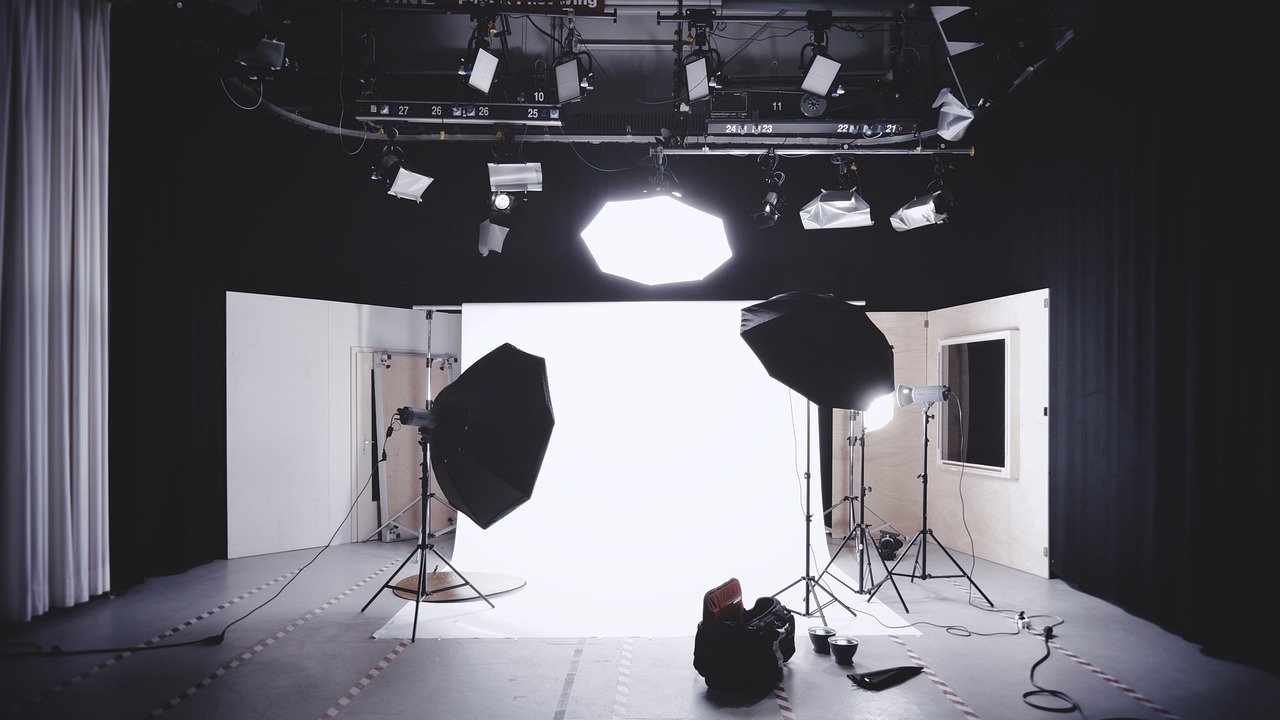
Artificial Lighting Techniques
When natural light isn’t available or sufficient, artificial lighting comes to the rescue. Understanding how to use these light sources is crucial for achieving consistent results.
Using Flash Effectively
Flash photography can be intimidating, but it’s incredibly powerful when used correctly. A flash can freeze motion, fill in shadows, and add drama to your images. The key is to avoid the flat, harsh look by diffusing the flash with a softbox or bouncing it off a surface.
Continuous Lighting
Continuous lighting provides a constant light source, making it easier to see how the light interacts with your subject in real-time. This type of lighting is particularly useful for product photography and videography, where you need consistent illumination.
Strobe Lighting
Strobe lights are a powerful lighting tool that emits short bursts of light, ideal for high-speed photography and creating sharp, well-lit images. Strobes require a bit more setup and knowledge, but they offer unparalleled control over lighting.
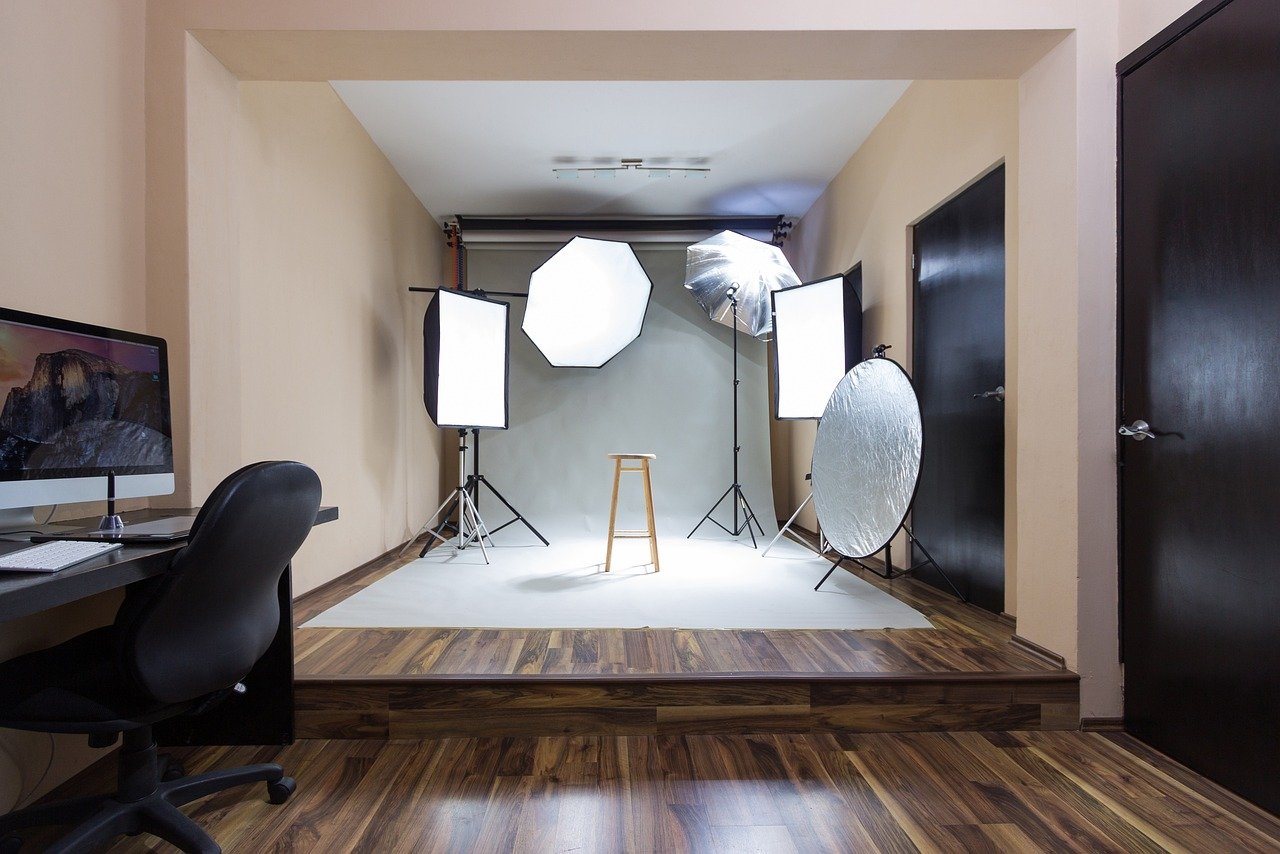
Key Lighting Setups
Mastering different lighting setups is essential for creating varied looks and moods in your photography.
Three-Point Lighting
Three-point lighting is a foundational lighting setup used in many photography and video shoots. It consists of three lights:
- Key Light: The primary light source, usually positioned to one side of the subject, creating shadows and depth.
- Fill Light: Placed opposite the key light, this light softens shadows created by the key light.
- Back Light: Positioned behind the subject, this light adds separation from the background and can create a subtle rim light.
Rembrandt Lighting
Rembrandt lighting is named after the famous painter and is characterized by a small triangle of light on the shadowed side of the subject’s face. This setup is perfect for adding drama and depth to portraits.
Butterfly Lighting
Butterfly lighting is created by placing the key light directly in front of and above the subject, casting a shadow under the nose that resembles a butterfly. This technique is popular in beauty and fashion photography for its ability to highlight facial features.
Creative Lighting Techniques
Experimenting with creative lighting techniques can help you develop a unique style and add intrigue to your photos.
Low-Key Lighting
Low-key lighting is all about creating images with high contrast and dark tones. It’s ideal for moody, dramatic photos, often used in portraiture to highlight form and texture.
High-Key Lighting
In contrast, high-key lighting is bright and even, minimizing shadows and creating an airy, light-filled image. This technique is often used in fashion and product photography to convey a clean, modern look.
Silhouette Lighting
Silhouette lighting involves positioning your subject in front of a strong light source, so they appear as a dark outline against a bright background. This technique is excellent for creating striking, minimalist images.
Split Lighting
Split lighting divides the face into two equal halves, one side lit and the other in shadow. It’s a powerful technique for creating a dramatic, mysterious look, often used in character portraits.
Lighting Modifiers
Lighting modifiers are tools that shape and control the quality of light in your photos. They can soften, diffuse, or direct light, depending on your needs.
Reflectors
Reflectors bounce light onto your subject, filling in shadows and adding a touch of light where needed. They’re affordable, portable, and a must-have in any photographer’s kit.
Softboxes
Softboxes diffuse light, creating a soft, even glow that wraps around your subject. They are commonly used in studio settings to achieve flattering, shadow-free lighting.
Umbrellas
Umbrellas are versatile modifiers that can either diffuse or reflect light, depending on their design. They’re easy to set up and are excellent for softening harsh light.
Mastering Color Temperature
Color temperature refers to the warmth or coolness of light, measured in Kelvin (K). Understanding how to control and balance color temperature is crucial for achieving the desired mood and tone in your photographs.
Understanding Kelvin Scale
The Kelvin scale ranges from warm, orange tones (lower Kelvin values) to cool, blue tones (higher Kelvin values). Knowing how to adjust your camera settings or lighting equipment to match the color temperature of your environment ensures consistent and natural-looking photos.
Balancing Warm and Cool Tones
Balancing warm and cool tones in your images can enhance the mood and feel of your photographs. For example, warm tones are often associated with comfort and intimacy, while cool tones convey calmness and serenity.
Practical Lighting Tips
Good lighting is about more than just knowing the techniques; it’s also about applying them effectively in different situations.
Adjusting for Different Environments
Every environment has unique lighting challenges. In indoor settings, you might need to add artificial light to compensate for low natural light, while outdoor shoots may require modifiers to soften harsh sunlight.
Using Light to Create Mood
Lighting plays a crucial role in setting the mood of a photograph. Soft, diffused light creates a calm, inviting atmosphere, while harsh, direct light can add drama and intensity. Experimenting with different lighting setups allows you to convey the desired emotion in your images.
Avoiding Common Lighting Mistakes
One common mistake is relying too heavily on automatic settings, which may not always choose the best exposure. Another is not paying attention to shadows, which can either enhance or detract from your composition. Being mindful of these aspects will improve your overall lighting control.
Lighting for Different Photography Genres
Different genres of photography have specific lighting needs. Understanding these can help you adapt your techniques accordingly.
Portrait Photography
Portrait photography often benefits from soft, flattering light that highlights the subject’s features without harsh shadows. A simple setup with a key light and reflector can work wonders.
Landscape Photography
Landscape photography relies heavily on natural light. The Golden Hour is particularly important, as it enhances the colors and textures of the scene.
Product Photography
Product photography requires consistent, even lighting that shows off the product’s details. Using a softbox or continuous lighting setup is ideal.
Street Photography
Street photography often utilizes available light, which can be challenging. Learning to work with harsh sunlight, shadows, and varying conditions is key to capturing compelling street scenes.
Advanced Techniques
Once you’ve mastered the basics, you can start exploring more advanced lighting techniques to add creativity and uniqueness to your photos.
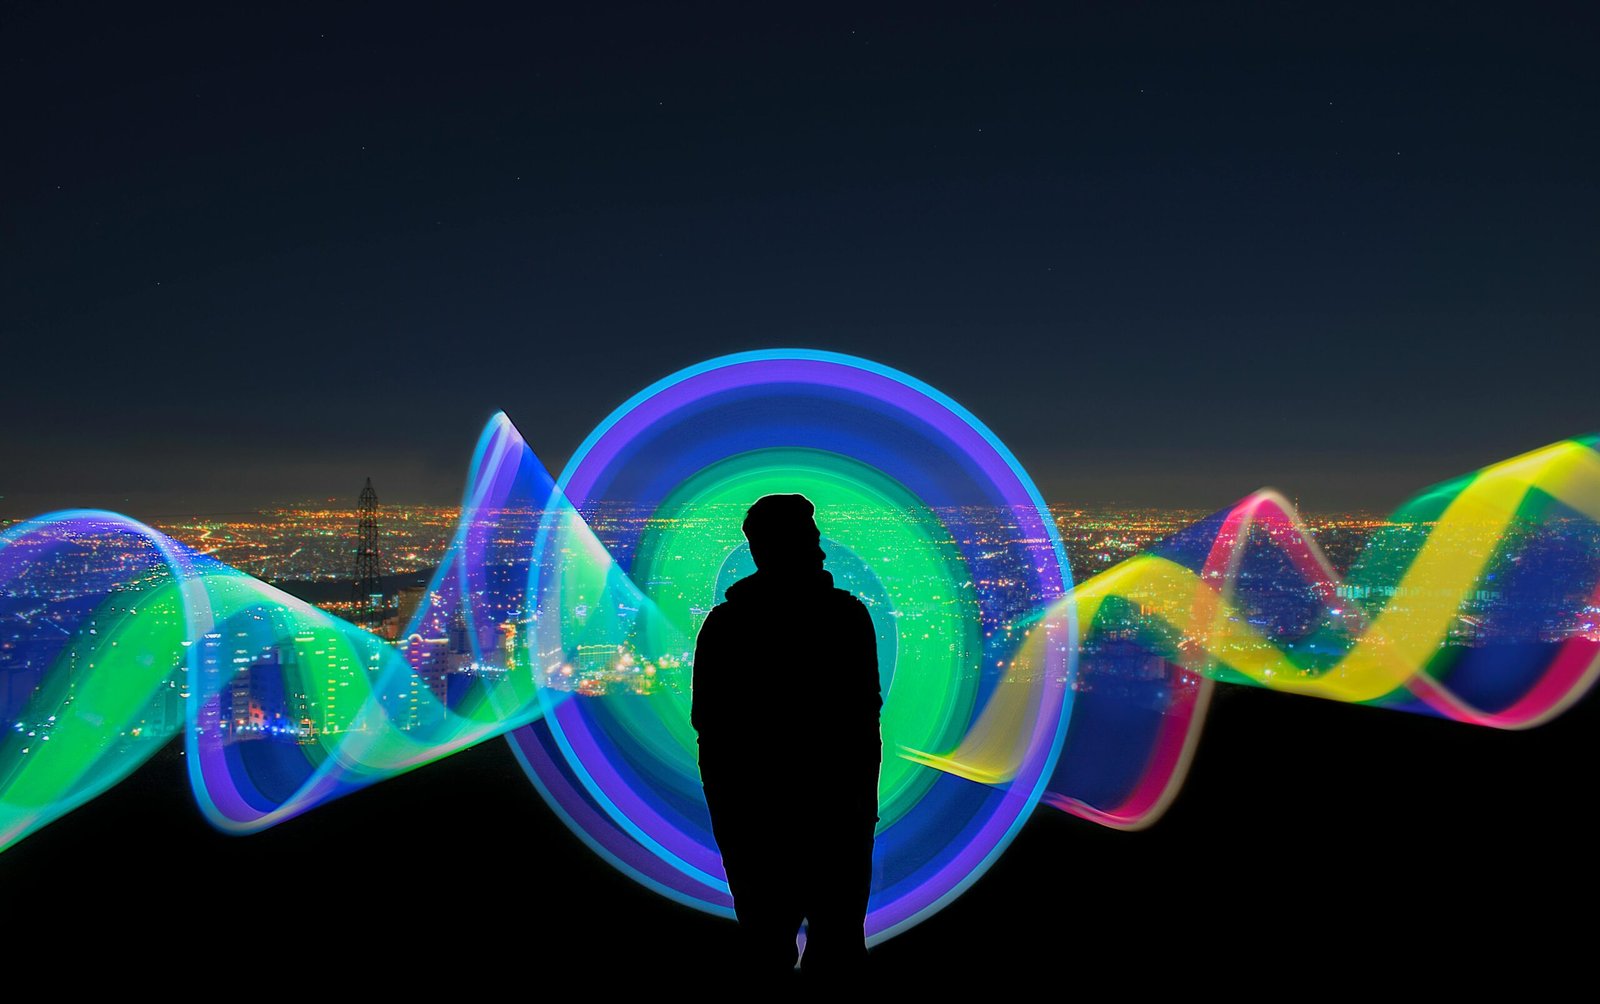
Using Gels for Creative Effects
Gels are colored sheets that can be placed over lights to create interesting effects. They allow you to add color to your lighting setup, creating vibrant and dynamic images.
Controlling Shadows
Shadows can add depth and dimension to your photos, but they can also be distracting if not controlled properly. Learning to manipulate shadows, whether by adjusting your light source or using modifiers, is essential for polished, professional-looking images.
Combining Natural and Artificial Light
Combining natural and artificial light allows you to balance the best of both worlds. This technique is useful in scenarios where natural light alone isn’t enough, and you need to supplement it with artificial sources.
Conclusion
Lighting is an art form in itself. By understanding and mastering the techniques discussed in this guide, you can take control of your photography and create stunning, memorable images. Remember, the key to great lighting is experimentation—don’t be afraid to try new things and push your creative boundaries.
FAQs
- What is the best lighting setup for beginners?
A simple three-point lighting setup is great for beginners. It’s easy to set up and provides a balanced, professional look. - How do I avoid harsh shadows in my photos?
Using a diffuser or bouncing your light off a wall or ceiling can help soften shadows and create a more even light. - Can I create professional photos with natural light alone?
Yes, natural light can be very effective, especially during the Golden Hour. Learning to manipulate natural light with reflectors and diffusers is key. - What is the difference between soft and hard light?
Soft light creates gentle, gradual shadows, while hard light produces sharp, defined shadows. The quality of light depends on the size of the light source relative to the subject. - How does lighting affect the mood of a photograph?
Lighting can drastically change the mood of a photograph. Soft, warm lighting creates a cozy, inviting feel, while harsh, cool lighting can evoke tension or drama.
Related Posts

November 21, 2024
How to Optimize Your Videos for SEO: 15 Proven Strategies for Success Understanding Video SEO What is Video SEO? Video SEO refers to optimizing...

November 20, 2024
The Benefits of Using Video in Marketing Introduction Video marketing is no longer just an option; it’s a necessity in today’s digital landscape. Whether...

October 25, 2024
How to Use Video Testimonials to Boost Your Business (Proven Strategies for Success) Introduction Customer trust is the cornerstone of any successful business. In...