
Aerial Photography: Capturing the World from Above Aerial photography, also known as airborne imagery, is…
The Ultimate Guide to Macro Photography: Capturing the Tiny Details of the World
Introduction
Macro photography opens up a fascinating world of tiny details that are often missed by the naked eye. It’s all about magnifying small subjects to fill your frame, revealing textures, colors, and details that can transform a mundane object into a work of art. But what exactly is macro photography, and how can you master this captivating genre?
In this article, we’ll explore everything you need to know to get started with macro photography. From understanding the basics and selecting the right gear to mastering techniques and avoiding common pitfalls, this guide will equip you with the knowledge to capture stunning macro shots that make viewers stop and stare.
Understanding the Basics of Macro Photography
What Makes a Photo “Macro”?
Macro photography refers to the practice of taking close-up photos of small subjects, typically at a 1:1 ratio or greater. This means the subject is captured on your camera’s sensor at life-size or larger, allowing you to see intricate details that are usually invisible to the naked eye.
Common Subjects in Macro Photography
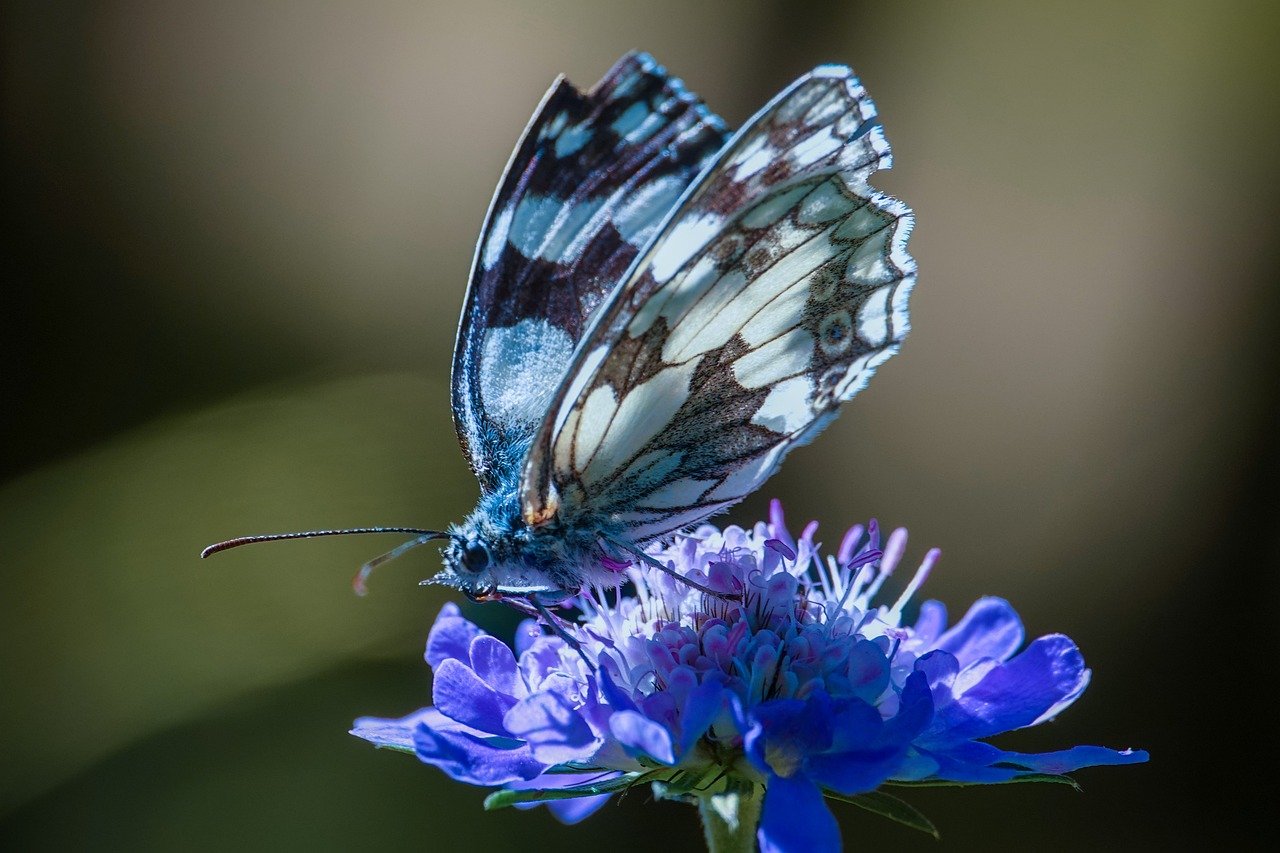
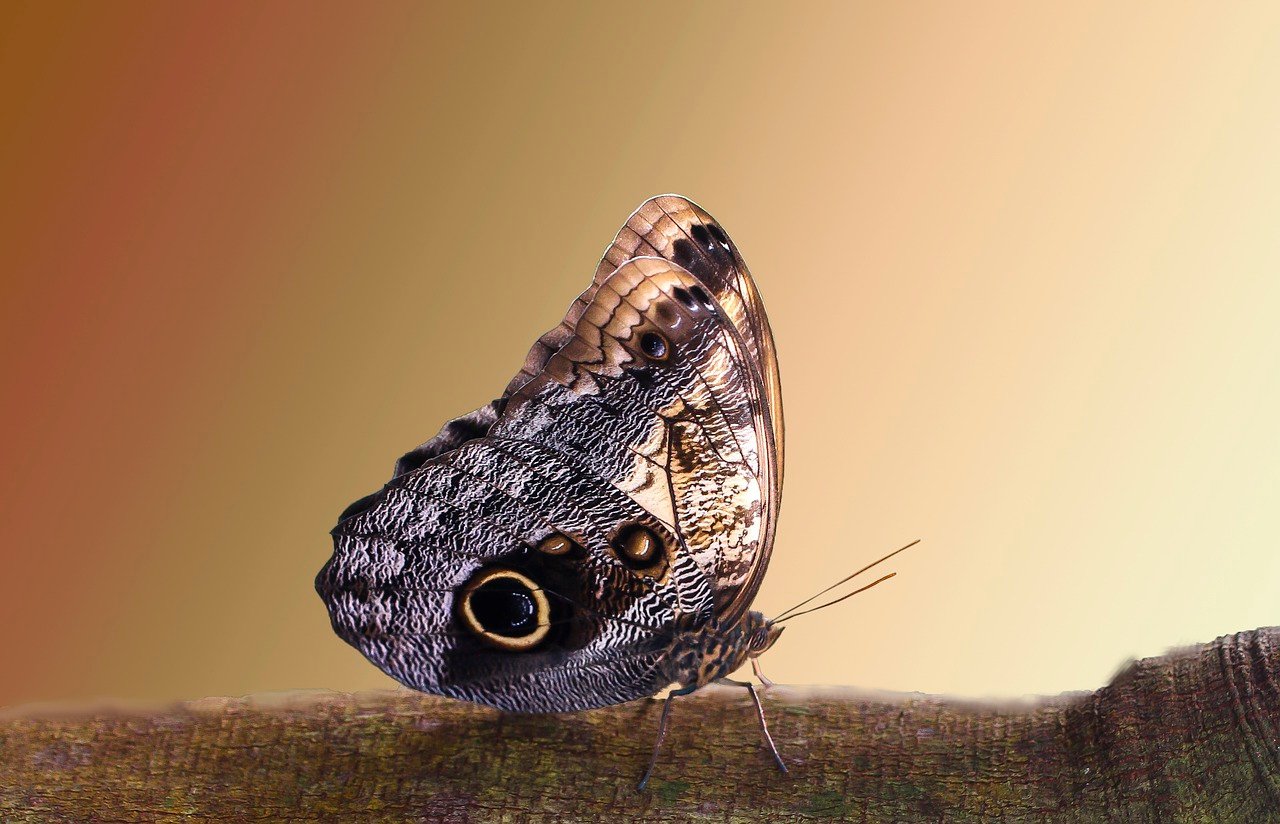
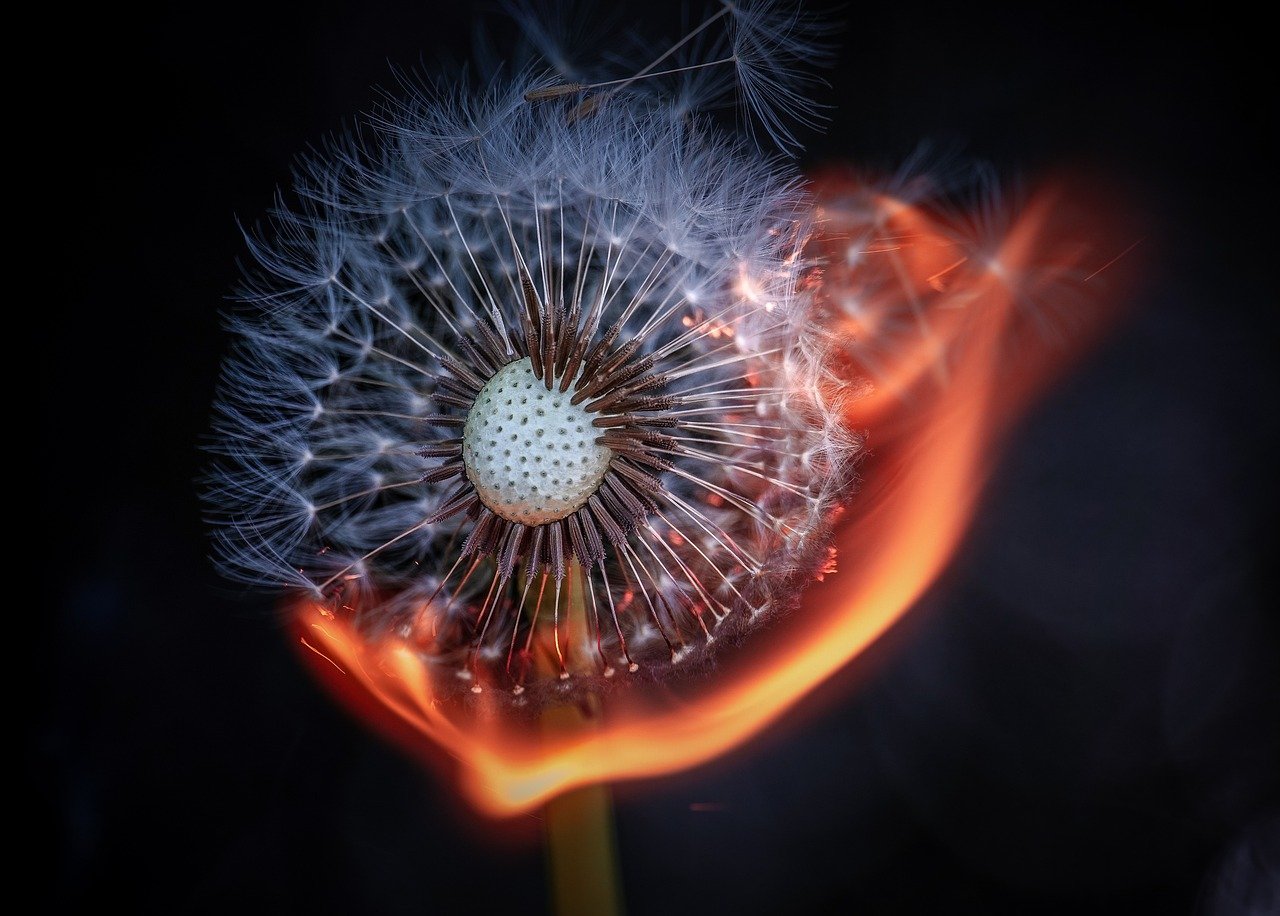
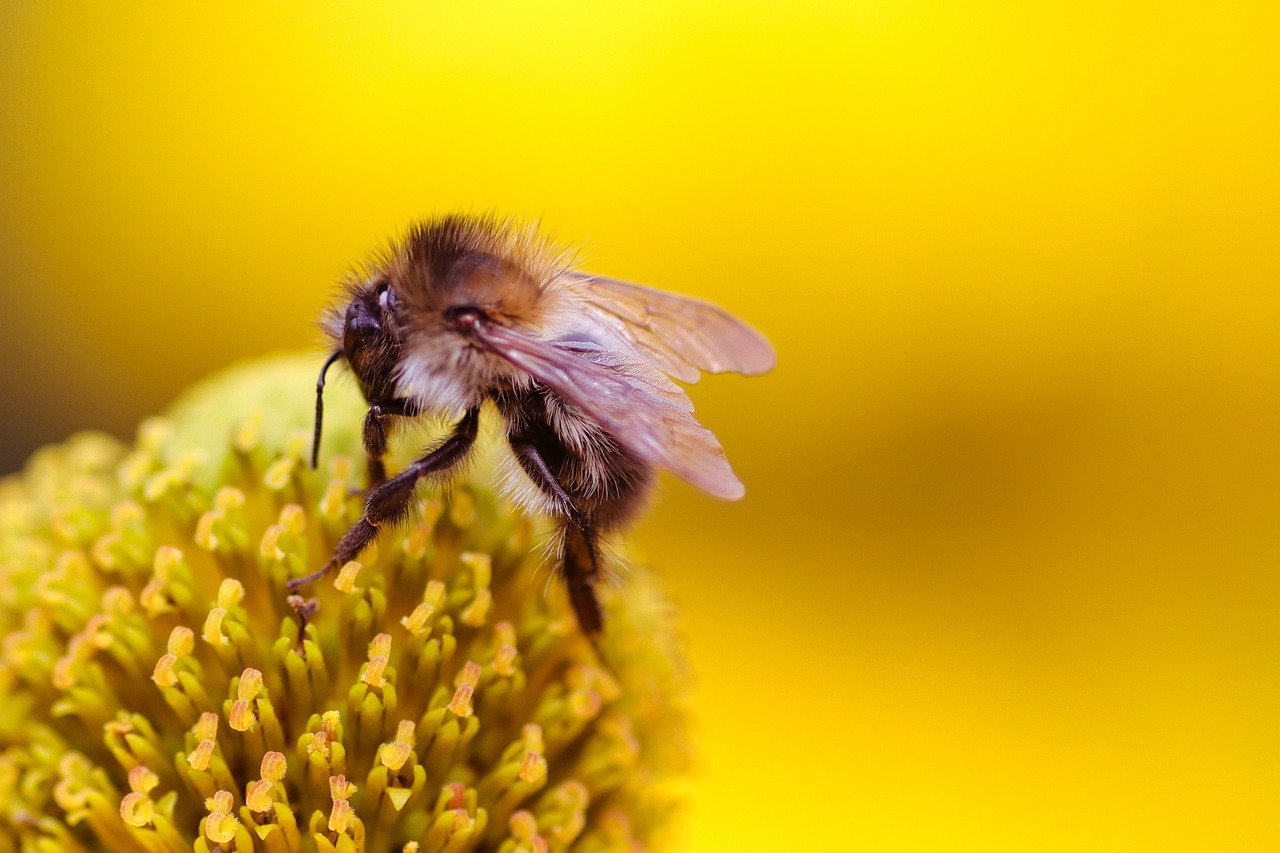
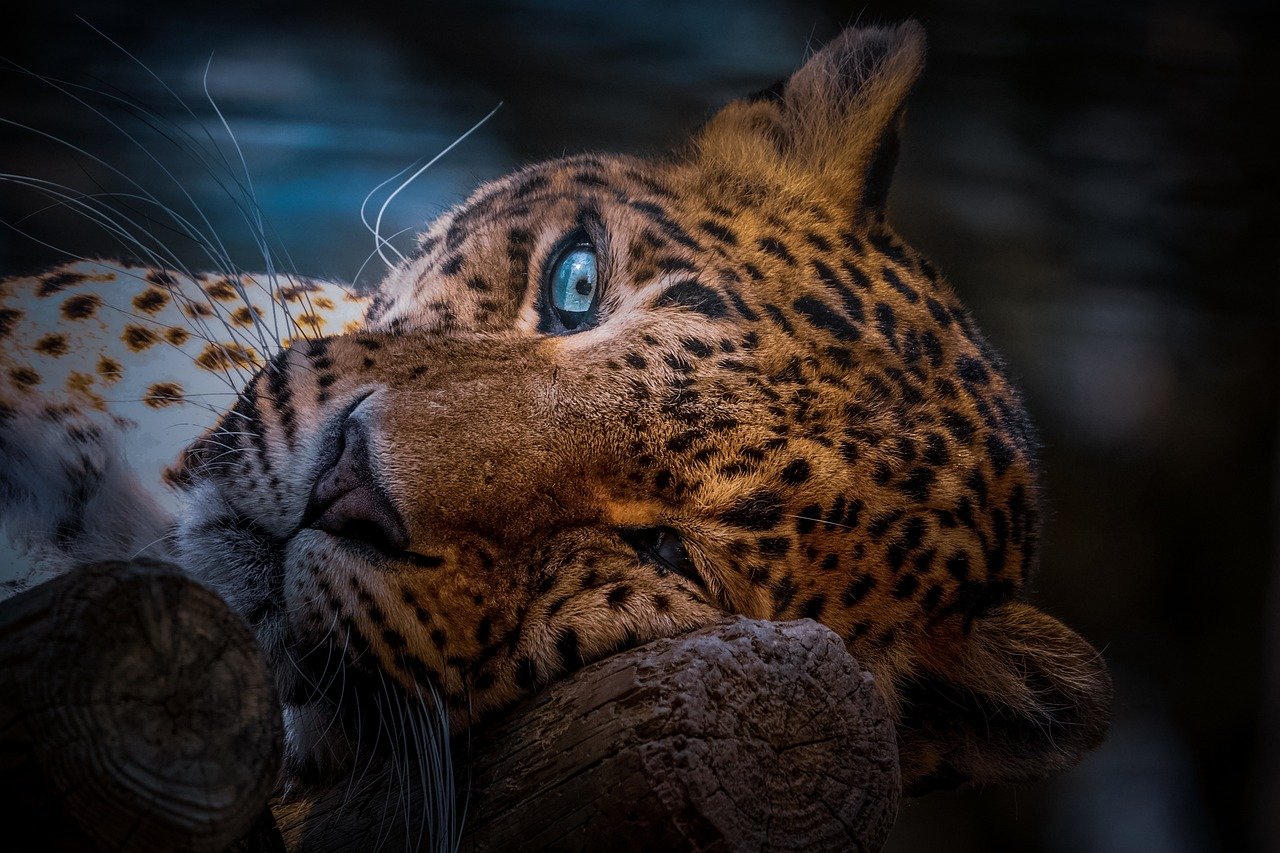
Some of the most popular subjects for macro photography include insects, flowers, water droplets, and textures like fabric or wood grain. These subjects are rich in detail, making them ideal candidates for close-up photography.
The Role of Magnification in Macro Photography
Magnification is key in macro photography. The higher the magnification, the closer and more detailed the subject appears. A 1:1 magnification ratio is typical, but some photographers push the limits with higher ratios, revealing a world that’s almost alien in its complexity.
Essential Gear for Macro Photography
Choosing the Right Camera for Macro Photography
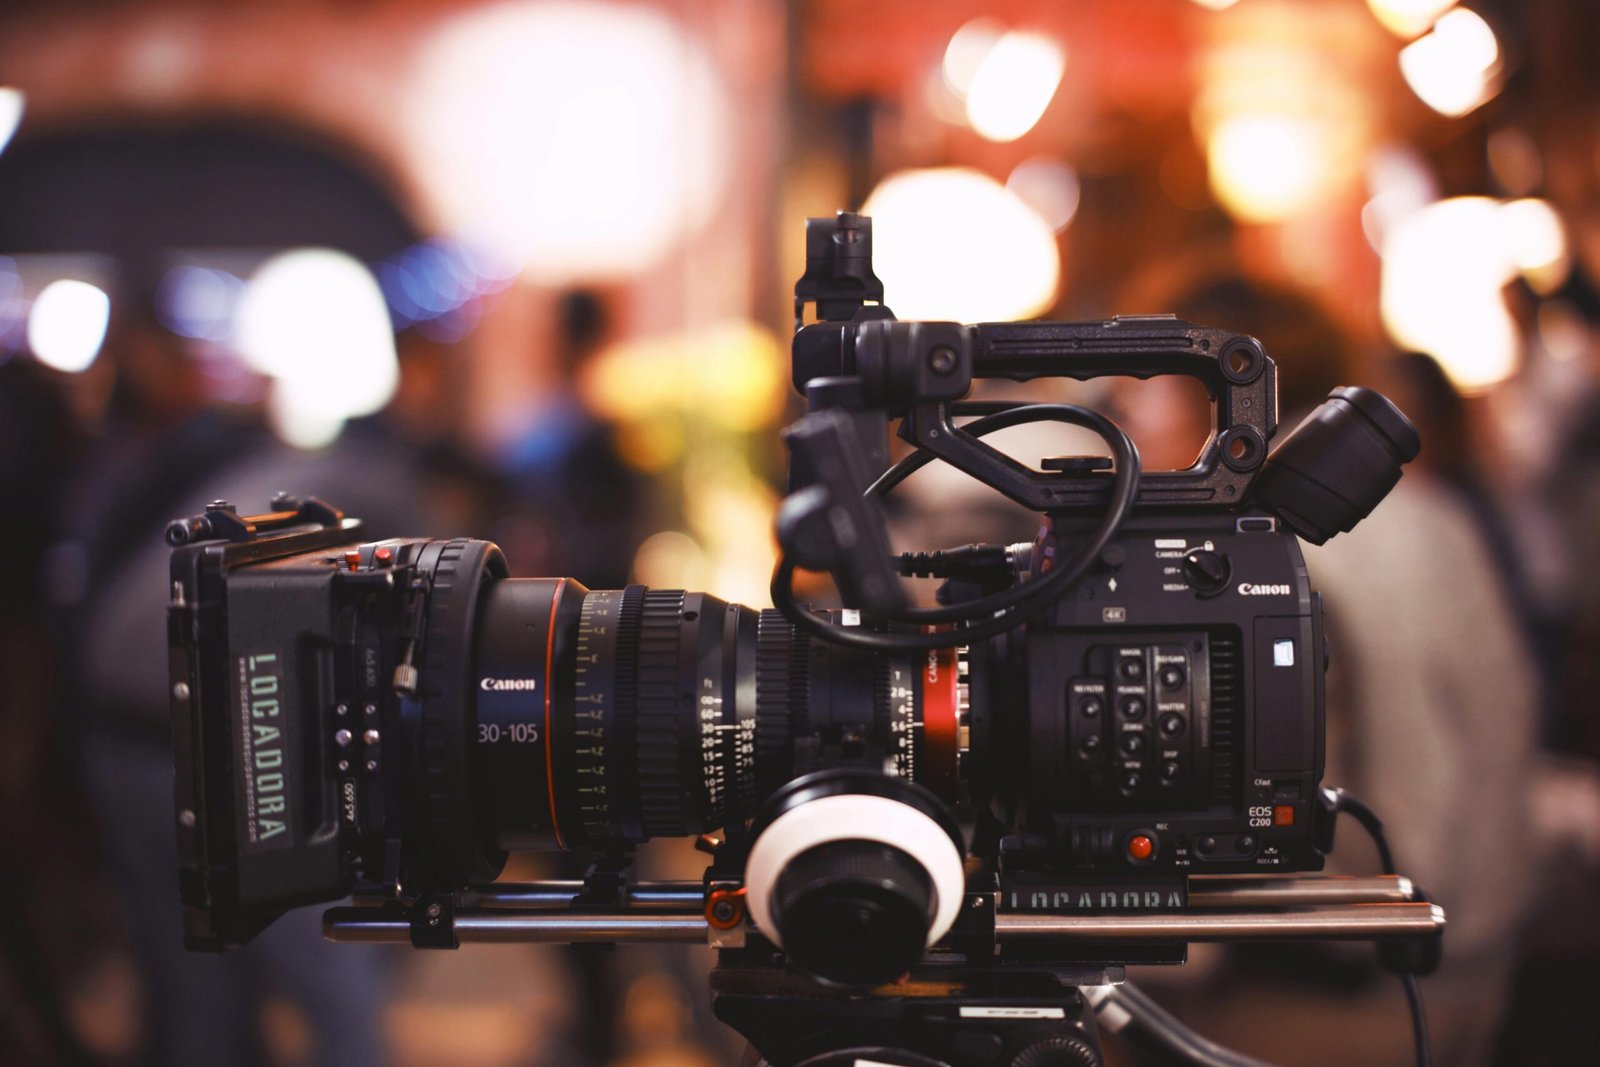
While nearly any camera can be used for macro photography, those with larger sensors and the ability to switch lenses offer the most flexibility. A DSLR or mirrorless camera is ideal, providing the control and quality needed for high-detail macro shots.
Lenses for Macro Photography
Prime Macro Lenses vs. Zoom Lenses
A dedicated prime macro lens with a fixed focal length is often the best choice for macro photography. These lenses are designed for close focusing and provide sharp, detailed images. Zoom lenses can work but often lack the sharpness and magnification power of a good prime macro lens.
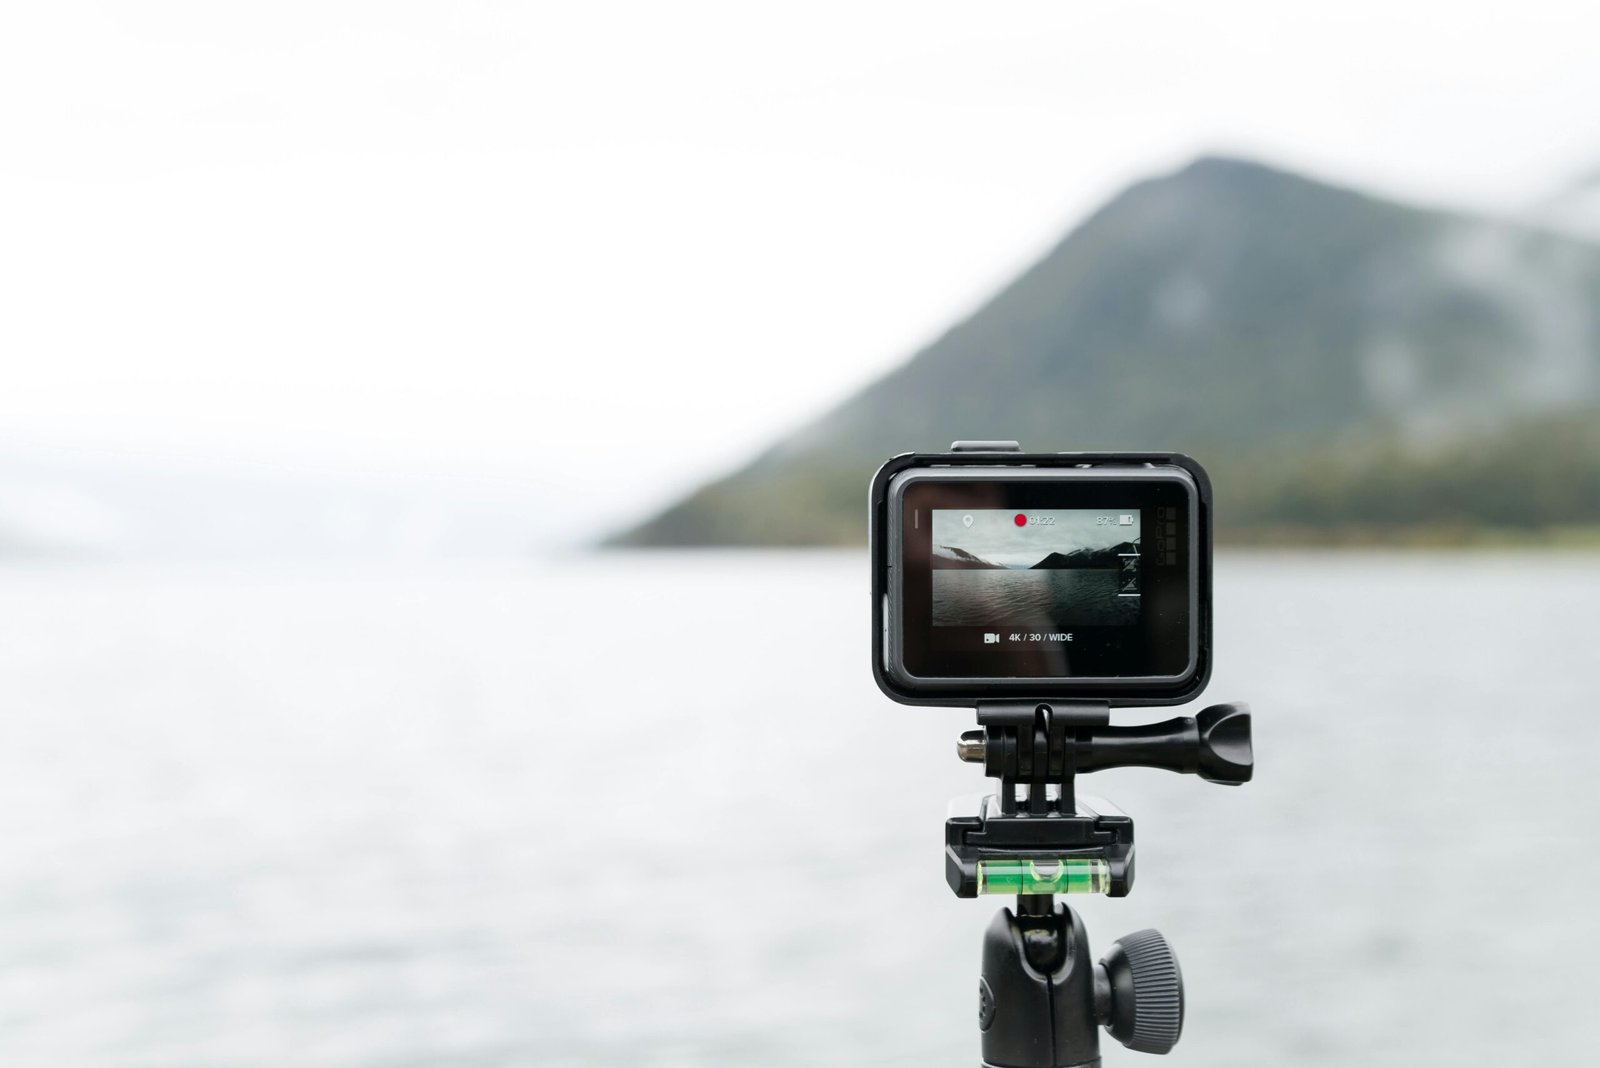
Tripods and Stabilization Tools
Stability is crucial in macro photography, where even the slightest movement can blur your shot. A sturdy tripod is essential, allowing you to keep the camera steady and your composition precise. For added stability, consider using a remote shutter release or the camera’s timer function.
Lighting Equipment
Ring Lights vs. Natural Light
Lighting can make or break a macro shot. Ring lights, which attach around your lens, provide even, shadow-free lighting, ideal for close-ups. However, natural light can also be used effectively, especially when diffused through a softbox or reflected off a surface.
Camera Settings for Stunning Macro Shots
Aperture Settings
Balancing Depth of Field and Focus
In macro photography, depth of field (DOF) becomes incredibly shallow, meaning only a small part of your subject will be in sharp focus. To manage this, you’ll need to use a smaller aperture (higher f-number), but be careful not to go too far, as this can introduce diffraction, softening your image.
Shutter Speed Considerations
Shutter speed is another critical setting in macro photography. A fast shutter speed can freeze motion, essential for live subjects like insects. However, in low-light situations, a slower shutter speed might be necessary, which is where your tripod becomes indispensable.
ISO Settings for Macro Photography
Keeping ISO low is important to avoid introducing noise into your image, which can be particularly distracting in detailed macro shots. Start with the lowest ISO your camera offers and increase only if absolutely necessary.
Manual Focus vs. Autofocus
While autofocus is convenient, it can struggle in macro photography due to the shallow DOF. Manual focus gives you complete control, allowing you to precisely target the part of the subject you want in sharp focus.
Techniques for Capturing Perfect Macro Photos
Composition in Macro Photography
Rule of Thirds in Macro Shots
Just like in other forms of photography, the rule of thirds can help create balanced and visually appealing macro shots. Place your subject or points of interest along the gridlines or at their intersections for a more dynamic composition.
Focus Stacking for Greater Depth
Focus stacking involves taking multiple shots of the same scene, each with a different focus point, and then combining them in post-processing to create an image with a greater depth of field. This technique is particularly useful in macro photography, where DOF is so limited.
The Importance of Background Control
In macro photography, the background can be just as important as the subject. A busy or distracting background can take away from your main subject, so look for ways to simplify it, whether by changing your angle, using a wider aperture, or physically removing distractions.
Using Diffusers for Soft Light
Harsh lighting can create unwanted shadows and highlights in macro photography. Diffusers soften the light, reducing contrast and helping to bring out more detail in your subject. You can purchase diffusers or make your own using materials like white cloth or paper.
Advanced Tips for Macro Photography
Shooting in Natural Environments
When shooting in natural environments, patience is key. Whether you’re capturing insects or plants, you’ll need to wait for the right moment when the lighting, positioning, and subject all align perfectly. Be mindful of your surroundings, and always respect the natural habitat.
Handling Reflective Surfaces
Reflective surfaces, like water droplets or shiny insects, can create challenging glare in macro photography. Polarizing filters can help reduce reflections, while careful positioning of your light source can also minimize unwanted reflections.
Managing Shadows and Highlights
Shadows and highlights can add depth and dimension to your macro shots, but they need to be carefully controlled. Too much shadow can obscure details, while blown-out highlights can distract from your subject. Adjust your lighting and exposure settings to strike the right balance.
Dealing with Motion in Macro Photography
Motion, whether from your subject or the environment (like wind), can be a significant challenge in macro photography. To combat this, use a faster shutter speed, increase your ISO slightly, or wait for a moment of stillness. In some cases, you may need to gently stabilize the subject.
Post-Processing for Macro Photography
Basic Edits for Macro Shots
Basic edits like cropping, adjusting exposure, and tweaking contrast can make a big difference in your macro photos. Start with these simple adjustments to enhance your image before moving on to more advanced techniques.
Enhancing Colors and Contrast
Vibrant colors and strong contrast can make your macro shots pop. Use tools like the saturation and contrast sliders to bring out the best in your subject, but be careful not to overdo it and lose the natural look.
Removing Distractions
In macro photography, even a tiny distraction can pull focus from your subject. Use the clone stamp or healing brush tools in your editing software to remove unwanted elements and keep the viewer’s attention where it belongs.
Sharpening Details in Macro Photography
Sharpening is essential in macro photography, where every tiny detail matters. Use the sharpening tool in moderation to enhance the fine details without introducing noise or artifacts.
Common Mistakes in Macro Photography and How to Avoid Them
Overlooking the Background
One of the most common mistakes in macro photography is neglecting the background. A cluttered or distracting background can ruin an otherwise great shot. Always check your background before shooting, and make adjustments as needed to keep it simple and complementary to your subject.
Using the Wrong Aperture
Choosing the wrong aperture can lead to problems with depth of field, either blurring too much of the subject or leaving the background too sharp. Experiment with different apertures to find the sweet spot that balances sharpness and background blur.
Neglecting to Stabilize the Camera
Camera shake is a common issue in macro photography due to the high magnification involved. Always use a tripod or other stabilization method to keep your camera steady and avoid blur.
Ignoring the Subject’s Environment
Pay attention to the environment around your subject. Whether you’re shooting outdoors or indoors, the surroundings can add context and interest to your macro shot. Don’t focus so much on the subject that you forget about the bigger picture.
Inspiring Ideas for Macro Photography Subjects
Nature and Wildlife
The natural world offers endless opportunities for macro photography. From the intricate patterns of a butterfly’s wings to the delicate veins of a leaf, there’s no shortage of subjects to explore.
Insects and Bugs
Insects are a favorite subject for many macro photographers. Their complex structures and vibrant colors make them perfect for close-up shots that reveal details you’d never notice with the naked eye.
Flowers and Plants
Flowers are another popular subject in macro photography. The textures, colors, and shapes of petals, leaves, and stems can create stunning images, especially when captured with the right lighting.
Water Droplets and Ice Crystals
Water droplets and ice crystals are fascinating subjects for macro photography. Their reflective surfaces and unique shapes can produce beautiful, abstract images that highlight the intricacy of nature.
Conclusion
Macro photography is an art form that invites you to see the world in a new way. By focusing on the tiny details, you can uncover the beauty in everyday objects and natural scenes that often go unnoticed. Whether you’re just starting or looking to refine your skills, the key is to experiment, practice, and most importantly, enjoy the process.
By following the tips and techniques outlined in this guide, you’ll be well on your way to capturing stunning macro photos that showcase the incredible detail and beauty of the world around us.
FAQs
1. What is the best lens for macro photography?
The best lens for macro photography is typically a dedicated macro lens with a fixed focal length, like a 90mm or 100mm lens. These lenses offer sharpness, detail, and the ability to focus closely on small subjects.
2. Can I do macro photography with a smartphone?
Yes, many smartphones can capture impressive macro shots, especially when paired with a macro lens attachment. While they may not match the quality of a DSLR or mirrorless camera, they are a great way to start practicing macro photography.
3. How do I achieve a good depth of field in macro photography?
Achieving a good depth of field in macro photography involves using a smaller aperture (higher f-number) and possibly using focus stacking techniques to combine multiple images for greater depth.
4. What are the best settings for macro photography?
The best settings for macro photography usually include a small aperture (f/8 or higher), a low ISO, and a fast shutter speed to prevent blur. Manual focus is often preferred for precision.
5. How can I improve my macro photography skills?
Improving your macro photography skills involves practicing regularly, experimenting with different subjects and lighting conditions, and learning from your mistakes. Post-processing skills also play a significant role in refining your images.
Related Posts

February 4, 2025
The Evolution of Visual Metaphors in Video Storytelling: Unlocking Creative Power Visual metaphors have become a crucial element in the landscape of video...
February 3, 2025
Top 10 Essential Questions to Ask Before Starting Your Video Project Whether you’re working on a marketing campaign, a personal vlog, or a corporate...
January 31, 2025
The Art of Capturing Authentic Moments in Video Authenticity in video content has become a game-changer in today’s digital era. People crave real, raw,...